How to Build a Floating Shelf: Step-by-Step Guide
Learn how to build a sturdy, beautiful floating shelf with this complete step-by-step guide. Includes materials list, cut list, and mounting instructions for any wall type.
Why Build Your Own Floating Shelf?
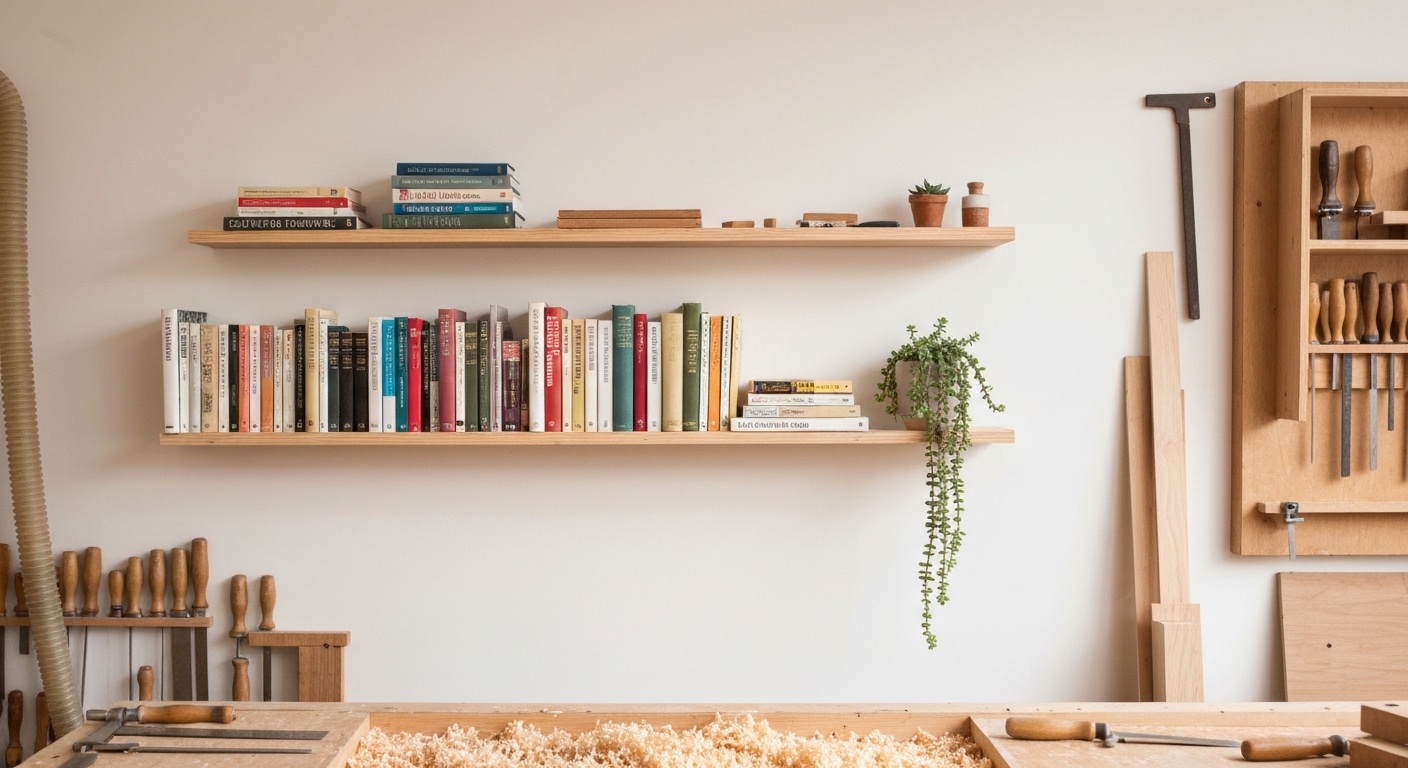
A floating shelf is one of the best first woodworking projects you can tackle. It’s practical, it looks great, and it teaches you several foundational skills: measuring, cutting, sanding, finishing, and mounting. When you’re done, you have something useful hanging on your wall — and the satisfaction of knowing you made it yourself.
Store-bought floating shelves are often flimsy particleboard wrapped in vinyl. The version you’ll build today uses real wood, a solid internal frame, and proper wall anchoring. It will hold books, plants, kitchen items — whatever you need — without sagging or pulling away from the wall.
What You’ll Need
Materials
- 1x pine or poplar board, 1x10 (actual: 3/4” x 9-1/4”), 3 feet long — this becomes the top and bottom
- 1x strip of 1x2 lumber (actual: 3/4” x 1-1/2”), 3 feet long — internal support
- 3x steel rod or heavy-duty lag screws, 3/8” diameter x 6” long — the hidden wall mounts
- Wood glue
- 120 and 220-grit sandpaper
- Finish of your choice (polyurethane, Danish oil, or paint)
- Wall anchors appropriate for your wall type
Tools
- Circular saw or miter saw
- Cordless drill/driver
- 3/8” drill bit (long, at least 4”)
- Level (at least 24”)
- Tape measure
- Combination square
- Clamps (at least 4)
- Stud finder
- Random orbital sander (optional but recommended)
- Pencil
Cut List
| Piece | Quantity | Dimensions | Material |
|---|---|---|---|
| Top panel | 1 | 3/4” x 9-1/4” x 30” | 1x10 pine |
| Bottom panel | 1 | 3/4” x 9-1/4” x 30” | 1x10 pine |
| Internal cleat (back) | 1 | 3/4” x 1-1/2” x 28-1/2” | 1x2 pine |
| Internal cleat (sides) | 2 | 3/4” x 1-1/2” x 7-3/4” | 1x2 pine |
| Internal cleat (front) | 1 | 3/4” x 1-1/2” x 28-1/2” | 1x2 pine |
Step 1: Cut Your Lumber
Start by cutting the top and bottom panels to length. For this guide, we’ll build a 30-inch shelf, but you can adjust to any length up to about 36 inches without needing extra support.
Using your circular saw (or miter saw if you have one), cut both panels to exactly 30 inches. The key here is making both pieces identical — if one is a hair longer than the other, the shelf won’t close up cleanly.
Pro tip: Cut both pieces at the same time by clamping them together and cutting through both boards in a single pass. This guarantees they’re the same length.
Next, cut your internal cleats. You need four pieces of 1x2:
- Two pieces at 28-1/2 inches (back and front cleats — the shelf width minus the thickness of the two side cleats)
- Two pieces at 7-3/4 inches (side cleats — the shelf depth minus the front and back board thicknesses)
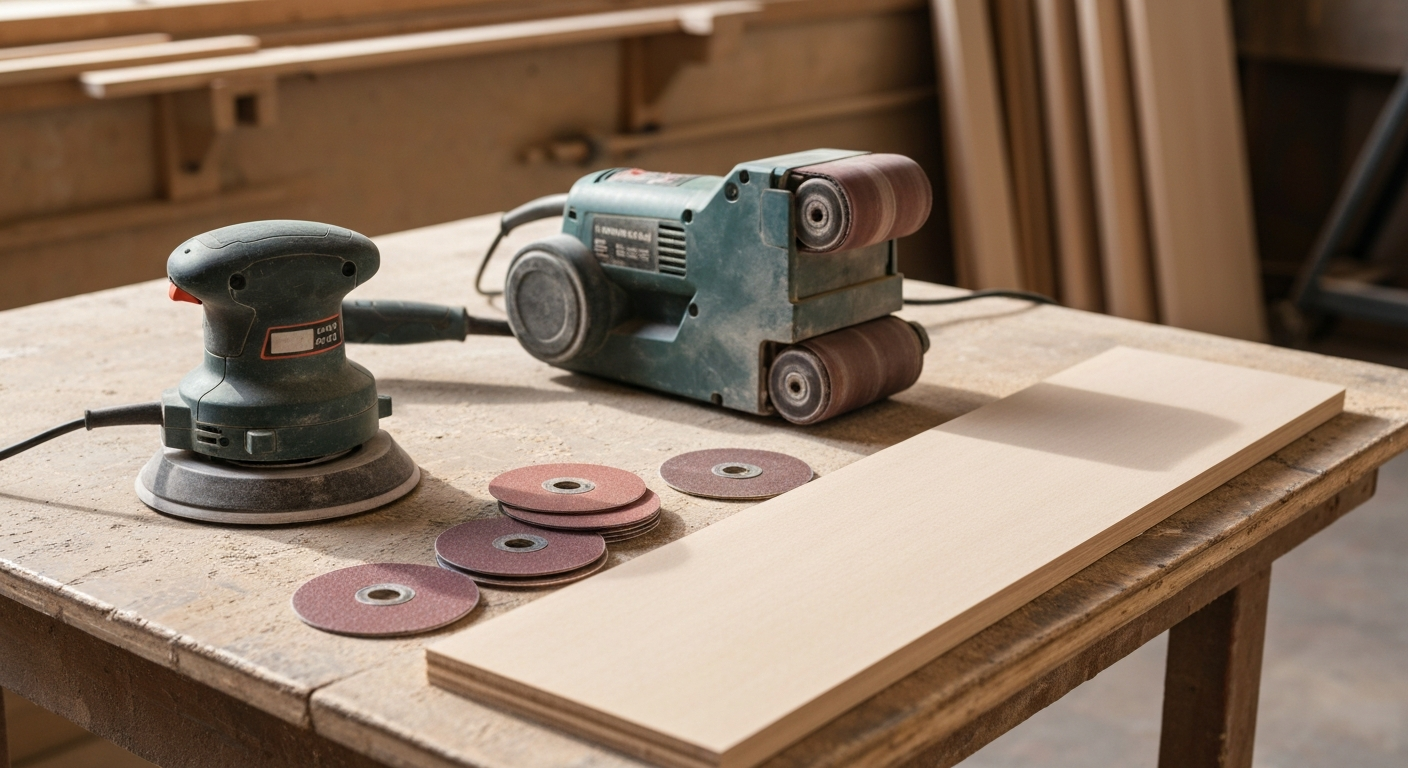
Step 2: Sand All Pieces
Sand every piece before assembly. It’s much harder to sand inside corners after the shelf is glued together.
Start with 120-grit sandpaper to remove any mill marks and rough spots, then switch to 220-grit for a smooth finish. Pay extra attention to the top panel’s face — that’s what everyone will see.
Pro tip: When sanding with a random orbital sander, let the weight of the tool do the work. Pressing down hard causes swirl marks and wears out your sandpaper faster.
Wipe all pieces down with a tack cloth or damp rag to remove dust before moving on.
Step 3: Assemble the Internal Frame
The internal frame is what gives this shelf its strength. You’re essentially building a rectangular box from 1x2 lumber that sits between the top and bottom panels.
- Lay the back cleat (28-1/2”) on a flat surface.
- Attach the two side cleats (7-3/4”) to each end of the back cleat using wood glue and clamps. The side cleats should butt against the ends of the back cleat, forming an open-ended “U” shape.
- Attach the front cleat to close the rectangle.
- Check for square by measuring the diagonals — they should be equal. Adjust while the glue is still wet if needed.
- Let the glue dry for at least 30 minutes before proceeding.
For extra strength, you can drive a small brad nail or 1-1/4” screw through each joint in addition to the glue.
Step 4: Attach the Top and Bottom Panels
Now you’ll sandwich the internal frame between the top and bottom panels.
- Apply a thin, even bead of wood glue along the top edges of the entire frame.
- Carefully place the top panel onto the frame, aligning all edges flush.
- Flip the assembly over (the top panel is now on the bottom).
- Apply glue to the now-exposed frame edges.
- Place the bottom panel on top, again aligning all edges.
- Clamp the sandwich together with clamps every 8-10 inches along the length.
- Wipe away any glue squeeze-out immediately with a damp rag. Dried glue won’t accept stain.
Important: The back edge of the shelf should be open — no panel covering the back cleat. This is where the mounting hardware will insert into the shelf.
Let the glue cure for at least 2 hours (overnight is better) before removing clamps.
Step 5: Drill Mounting Holes
This is the step that makes the shelf “float.” You’ll drill holes into the back cleat of the shelf that will slide over rods or lag screws protruding from the wall.
- Mark three evenly spaced points along the back of the shelf. For a 30-inch shelf, place marks at 7-1/2”, 15”, and 22-1/2” from one end.
- Using a 3/8” drill bit, drill straight into the back edge of the shelf at each mark. Drill at least 4 inches deep — the deeper the hole, the more stable the shelf.
- Keep the drill perfectly level and centered on the back cleat. A drill press is ideal here, but a steady hand and a level on top of the drill works fine.
Pro tip: Wrap a piece of painter’s tape around your drill bit at the 4-inch mark so you know when to stop drilling.
Step 6: Apply Your Finish
With the shelf fully assembled, apply your chosen finish. Here are solid options for beginners:
- Danish oil — Easy to apply, beautiful natural look, beginner-friendly. Two coats, wiped on with a rag.
- Polyurethane — More durable, good for kitchens or bathrooms. Apply thin coats with a foam brush, lightly sand with 220 between coats.
- Paint — Prime first, then two coats of semi-gloss or satin.
Allow the finish to fully cure according to the manufacturer’s instructions before mounting.
Step 7: Mount the Shelf to the Wall
This is where the magic happens. A properly mounted floating shelf looks like it’s defying gravity.
Finding Your Studs
Use a stud finder to locate wall studs. Studs are typically 16 inches apart. Ideally, at least two of your three mounting points will hit a stud.
- Hold the shelf at your desired height and use a level to draw a faint pencil line on the wall where the bottom of the shelf will sit.
- Mark the three mounting points on the wall, transferring the spacing from the holes in the shelf.
Installing the Mounting Rods
If you’re going into studs:
- Drill a 3/8” pilot hole, about 3 inches deep, at each mark that lands on a stud.
- Thread a 6-inch lag screw or drive a 3/8” steel rod into each hole, leaving about 3-4 inches protruding from the wall.
If you’re hitting drywall only:
- Use heavy-duty toggle bolts or snap toggles rated for at least 50 lbs each.
- Follow the toggle bolt manufacturer’s instructions for installation.
Sliding the Shelf On
- Apply a small amount of wood glue inside each mounting hole on the shelf (optional, but adds strength).
- Carefully align the shelf’s holes with the protruding rods.
- Slide the shelf onto the rods, pushing it firmly against the wall.
- Check level one more time.
Safety warning: Never mount a floating shelf using only drywall anchors if you plan to put heavy items on it. Books are heavier than you think. Always try to hit at least one stud.
Customization Ideas
Once you’ve mastered the basic floating shelf, try these variations:
- Longer shelves (36-48”): Add a fourth mounting point and consider using a thicker board or adding a second internal cleat for sag prevention.
- Live-edge style: Use a slab with natural bark edge for the top panel. You’ll need to flatten the bottom with a hand plane.
- Painted with stained top: Paint the body white and apply a walnut or ebony stain to the top surface for a modern two-tone look.
- LED strip lighting: Route a shallow channel on the underside for an LED strip. Drill a small hole in the back for the wire.
- Bathroom skincare display: Mount a shelf at eye level in the bathroom to organize your skincare collection. Use a waterproof finish like marine-grade polyurethane to handle the humidity.
Common Mistakes to Avoid
- Not checking for level — A shelf that’s off by even a degree will drive you crazy every time you look at it.
- Skipping the internal frame — Two boards glued together without a frame will sag under any real weight.
- Over-tightening mounting hardware — You’ll crack the drywall or strip the stud. Snug is enough.
- Ignoring wall type — Know your wall. Drywall, plaster, brick, and concrete all require different anchors.
Final Thoughts
A floating shelf is a small project with a big payoff. It teaches you core skills, gives you a tangible result in a single afternoon, and looks impressive on the wall. Build one, and you’ll probably find yourself building five more for the rest of the house.
The total cost for this project runs between $20-40 depending on your wood choice and hardware, making it one of the most budget-friendly ways to get started in woodworking. Grab your tools, pick a wall, and get building.