How to Make Soy Candles at Home: Step-by-Step Guide
Learn how to make beautiful soy candles at home with this beginner-friendly step-by-step guide covering supplies, wax melting, fragrance ratios, wick selection, pouring, and curing.
Why Soy Candles?
There is something deeply satisfying about lighting a candle you made yourself. Soy candles, in particular, have become the go-to choice for home crafters — and for good reason. Soy wax burns cleaner and longer than paraffin, produces less soot, and carries fragrance beautifully. It is also a renewable, biodegradable resource, which makes the environmentally conscious part of your brain feel good too. If you are working toward a toxin-free home, homemade soy candles are one of the easiest swaps — you control every ingredient that goes in.
The best part? Making soy candles is one of the most beginner-friendly crafts out there. Your first batch can be ready to light in about 24-48 hours, and the supplies are affordable enough that even a failed experiment will not break the bank. Let me walk you through the entire process from start to finish.
What You Will Need
Before you start melting wax, gather all your supplies. Having everything ready and within arm’s reach makes the process smoother and prevents those frantic searches while your wax is cooling.
Materials
- Soy wax flakes — Golden Brands 464 Soy Wax is the standard recommendation for container candles. Start with 5 lbs — it will make 8-10 medium candles.
- Candle wicks — ECO Series Cotton Wicks are pre-tabbed and work beautifully with soy wax. Get a variety pack to experiment with sizing.
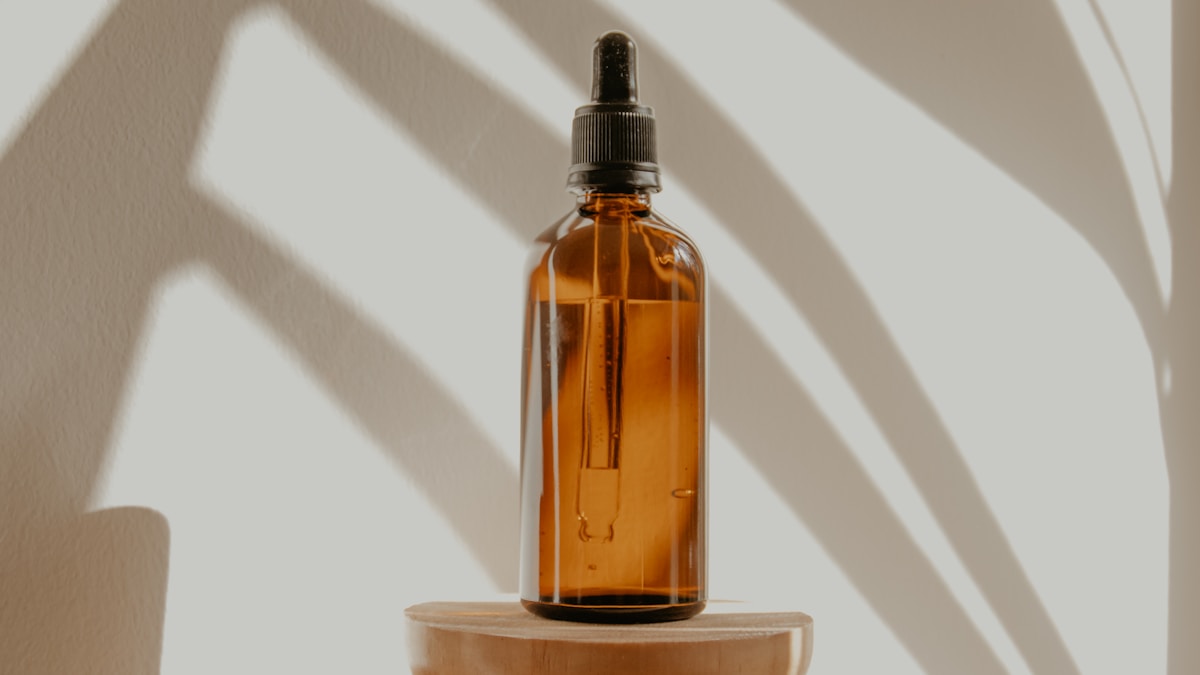
- Fragrance oils — Candle Science Fragrance Oil Set or individual scents. Make sure they are rated for soy wax. Essential oils work too, but throw less scent.
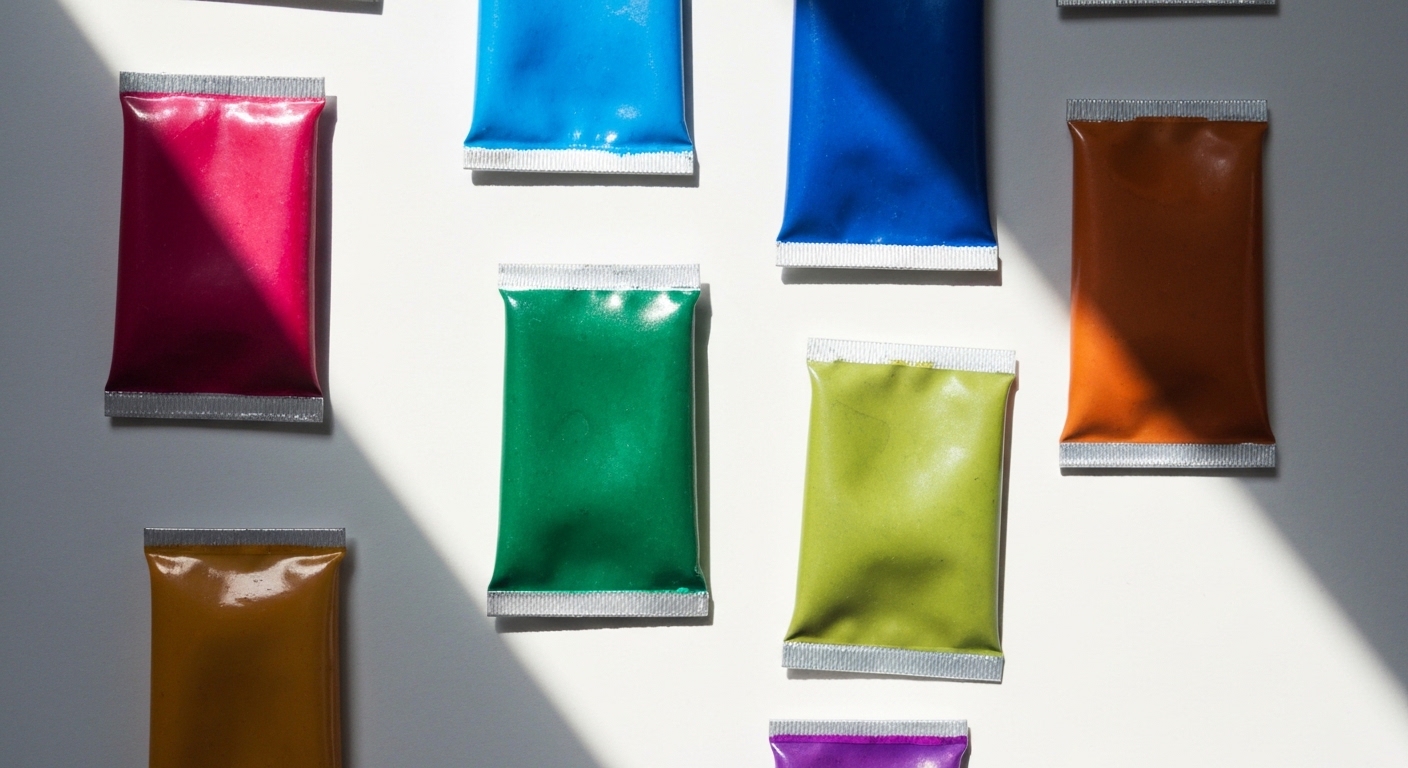
- Candle dye (optional) — Liquid or block candle dye. A little goes a very long way.
- Containers — Heat-safe glass jars, tins, or ceramic vessels. Glass Candle Jars with Lids are a classic choice. Mason jars work perfectly too.
Tools
- Double boiler or pouring pot — A Candle Making Pouring Pot with a spout makes pouring clean and easy. Alternatively, use a heat-safe glass measuring cup inside a pot of simmering water.
- Thermometer — A candy thermometer or infrared thermometer. Temperature control is critical.
- Wick centering device — Chopsticks, pencils, or wick centering tools to hold your wick in place while the wax cools.
- Kitchen scale — For measuring wax and fragrance accurately.
- Stirring utensil — A wooden skewer or stainless steel spoon dedicated to candle making.
- Paper towels and newspaper — Wax spills happen. Be prepared.
Step 1: Prepare Your Containers and Wicks
Start by making sure your containers are clean, dry, and at room temperature. Any moisture in the jar can cause the wax to pop or create imperfections.
Adhere the wick tab to the bottom center of each container. You can use a dab of hot glue, a wick sticker, or even a small dot of melted wax. Press the tab firmly to the bottom of the jar and hold it for 10-15 seconds until it stays put.
Place your wick centering device across the top of the jar to keep the wick straight and centered. This step matters more than you might think — an off-center wick will cause the candle to burn unevenly, creating tunneling where one side melts and the other does not.
How to Choose the Right Wick Size
Wick sizing is the trickiest part of candle making, and it often takes some experimentation. The general rule: the wider your container, the larger your wick needs to be.
- Container diameter under 2.5 inches — Small wick (ECO 6 or similar)
- Container diameter 2.5-3 inches — Medium wick (ECO 10 or similar)
- Container diameter 3-3.5 inches — Large wick (ECO 14 or similar)
- Container diameter over 3.5 inches — Consider using multiple wicks
If your wick is too small, the candle will tunnel — the wax will only melt in a small pool around the wick and leave hard wax clinging to the sides. If your wick is too large, the flame will be dangerously tall, the jar will get too hot, and the candle will burn through its fuel too quickly.
Pro Tip: Make your first batch with 2-3 different wick sizes in the same type of container. Burn-test each one and let the results guide your future candles. Keeping a simple note of which wick worked best with which jar is a habit that will save you a lot of frustration.
Step 2: Measure and Melt the Wax
Weigh your soy wax flakes using a kitchen scale. A good rule of thumb: fill your container with wax flakes and then weigh that amount. You will need roughly twice the volume of wax flakes to fill a container, since flakes have air gaps that disappear when melted. Or, for more precision, weigh the water your container holds in ounces and use that number as your wax weight.
Place the wax flakes in your double boiler or pouring pot. If using the double boiler method, fill the bottom pot with a few inches of water and bring it to a gentle simmer. Set your pouring pot or heat-safe container on top.
Melt the wax slowly, stirring occasionally. You want to reach a temperature of 170-180 degrees Fahrenheit (77-82 degrees Celsius). Do not let the wax exceed 200 degrees Fahrenheit — overheated soy wax can discolor and lose its smooth finish.
Safety Warning: Never melt wax directly over an open flame or in a microwave. Wax is flammable. A double boiler gives you gentle, controlled heat. If wax does ignite, never use water to extinguish it — smother it with a lid or use a fire extinguisher. Keep one within reach in your workspace.
Pro Tip: The Water Bath Trick
If your wax has been sitting in a cold garage or storage area, let it come to room temperature before melting. Cold wax takes longer to melt and can cause temperature inconsistencies.
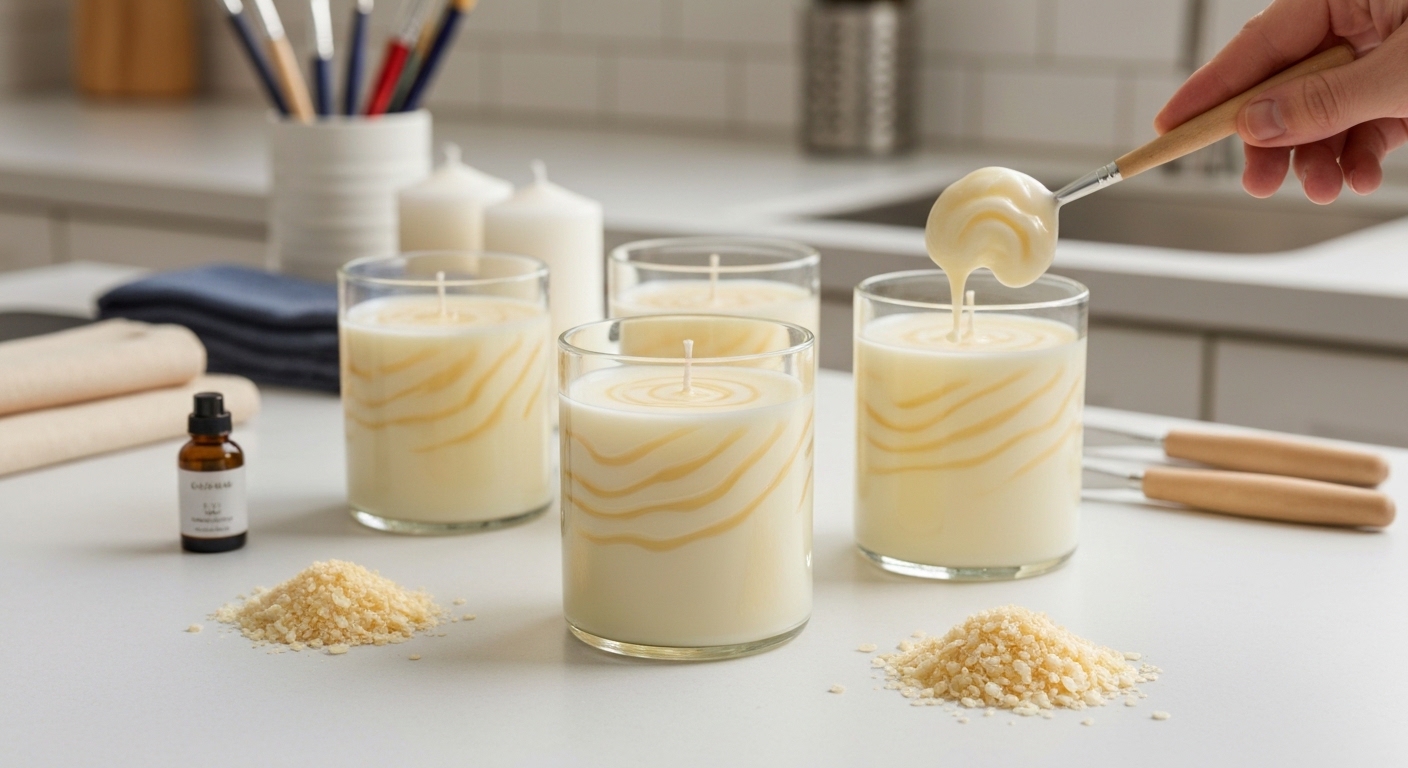
Step 3: Add Fragrance and Color
Once your wax reaches 170-180 degrees Fahrenheit, remove it from the heat source. Let it cool slightly to about 135-145 degrees Fahrenheit before adding fragrance oil. Adding fragrance at too high a temperature will cause the scent to flash off and you will end up with a weak-smelling candle.
Fragrance Load Ratios
The “fragrance load” is the percentage of fragrance oil relative to the weight of the wax. For soy wax, the sweet spot is typically:
- 6-8% — Light, pleasant scent (good for bedrooms)
- 8-10% — Medium throw (the standard for most candles)
- 10-12% — Strong throw (for large rooms or heavily fragranced candles)
How to calculate: If you have 16 oz of wax and want a 10% fragrance load, you need 1.6 oz of fragrance oil (16 x 0.10 = 1.6).
Most soy waxes have a maximum fragrance load of 10-12%. Exceeding this can cause the fragrance to seep out of the cooled candle, creating wet spots or an oily surface. More fragrance does not always mean more scent — it can actually mean a worse candle.
Stir the fragrance oil into the wax gently but thoroughly for at least 2 full minutes. This ensures the fragrance binds properly with the wax.
Adding Color
If you want colored candles, add your dye at the same time as the fragrance. Start with a tiny amount — a single drop of liquid dye or a small shaving of dye block. Stir it in completely. The color will appear lighter once the wax cools and solidifies, so go slightly darker than your target shade.
Step 4: Pour the Wax
This is the satisfying part. Let the wax cool to your pouring temperature — for most soy waxes, this is between 120-140 degrees Fahrenheit (49-60 degrees Celsius). Pouring too hot causes sinkholes, rough tops, and wet spots. Pouring too cool causes poor adhesion to the container walls.
Pour the wax slowly and steadily into the center of the container, keeping the stream close to the wick without hitting it directly. Fill the jar to about half an inch below the rim. Leave a small amount of wax in your pouring pot (about 10-15% of the total) — you will need this for the top-off pour.
Pro Tip: Warm Your Jars
Before pouring, warm your containers slightly (a minute in an oven at its lowest setting, or with a heat gun). This helps the wax adhere to the glass and reduces the appearance of wet spots — those lighter patches where the wax has pulled away from the container wall. Wet spots are purely cosmetic and do not affect the candle’s burn, but they can be frustrating if you are going for a polished look.
Step 5: Cool and Top Off
Let the candle cool at room temperature. Do not move it, do not put it in the fridge (temperature shock causes cracking), and do not try to speed up the process. Soy wax takes its time, and patience here pays off in a smooth, even surface.
As the wax cools, you will likely notice a sinkhole forming around the wick. This is completely normal — it happens because wax contracts as it solidifies, and the area around the wick (which is the warmest spot) sinks last.
Once the candle has fully cooled and hardened (usually 3-4 hours at room temperature), reheat your reserved wax to pouring temperature and carefully fill in the sinkhole. Pour just enough to level the surface — do not overfill above the original pour line.
Step 6: Trim the Wick and Cure
Once the top-off pour has cooled completely, trim your wick to 1/4 inch above the wax surface. A wick that is too long will produce a large, smoky flame. A wick that is too short will drown in the melt pool.
The Curing Process
Here is where patience truly becomes a virtue. Soy candles need to cure — meaning the fragrance oil needs time to fully bind with the wax — before they reach their maximum scent throw.
- Minimum cure time: 48 hours (the absolute bare minimum before burning)
- Recommended cure time: 1-2 weeks for optimal scent throw
- Storage during cure: Room temperature, away from direct sunlight, loosely covered or with lids on
Yes, waiting 1-2 weeks is hard when you have a beautiful candle sitting right there. But the difference in scent throw between a 2-day cure and a 2-week cure is significant. Your patience will be rewarded with a candle that fills the room with fragrance instead of barely whispering.
Step 7: Burn Testing
Before you gift or sell your candles, do a proper burn test on at least one candle from each batch.
Light the candle and let it burn for 1 hour per inch of container diameter on the first burn. For a 3-inch jar, that means a 3-hour first burn. This establishes the “memory ring” — the melt pool that dictates how the candle will burn for the rest of its life. If the melt pool does not reach the edges of the container on the first burn, the candle will tunnel on every subsequent burn.
Watch for:
- Flame height — Should be about 1 inch tall. Too high means the wick is too large. Too low or flickering means the wick is too small.
- Melt pool depth — Should be about 1/4 to 1/2 inch deep. Deeper than that means the wick is too hot.
- Soot — Some soot is normal, but excessive black smoke means the wick is too large or needs trimming.
- Glass temperature — The jar should be warm but not dangerously hot to touch.
Troubleshooting Common Issues
Rough or Bumpy Top
Usually caused by pouring too cool or cooling too quickly. Pour at the correct temperature and let the candle cool slowly at room temperature.
Wet Spots (Adhesion Pull-Away)
Those lighter patches where wax separates from the glass are cosmetic only. Warming your jars before pouring helps. Some crafters embrace them as a natural characteristic of soy candles.
Tunneling
The wick is too small for the container, or the first burn was not long enough. Burn the candle for 1 hour per inch of diameter on the first use.
Weak Scent Throw
Either the fragrance load is too low, the candle did not cure long enough, or the fragrance was added at too high a temperature. Check all three variables.
Frosting (White Crystalline Coating)
This is a natural characteristic of soy wax — it is actually a sign of pure, natural soy. It does not affect performance. If it bothers you aesthetically, adding a small percentage of coconut wax or using a soy-coconut blend can minimize it.
Scent Combination Ideas to Get You Started
Once you have the basics down, experimenting with scent blends is where candle making gets really fun.
- Cozy Evening — Vanilla + sandalwood + a hint of cinnamon
- Fresh Linen — Clean cotton + light lavender + white tea
- Forest Walk — Cedarwood + pine + eucalyptus
- Citrus Sunrise — Blood orange + lemon + grapefruit
- Bakery Morning — Brown sugar + butter + warm vanilla
When blending, start with a dominant note (60-70% of your fragrance) and add supporting notes in smaller percentages. Keep notes of your blends so you can recreate the ones that work.
Final Thoughts
Candle making is one of those crafts that rewards both precision and creativity. The technical side — temperatures, ratios, wick sizing — gives you a solid foundation, and the creative side — scents, colors, containers — makes every batch uniquely yours.
Your first candles might not be perfect, and that is absolutely fine. Each batch teaches you something. Before long, you will have a burning candle on every surface in your house, a queue of friends asking for gifts, and maybe even the start of a small business. Start with one batch, learn from it, and let the process pull you in.