How to Hang a Heavy Mirror on Drywall Without Studs
Hanging a heavy mirror can transform a room, adding light, space, and a touch of elegance. But the thought of anchoring a substantial piece to what seems like flimsy drywall, especially when there are no studs in sight, can be daunting. Fear not! With the right tools, techniques, and anchors, you can securely mount even the heaviest mirrors, ensuring both safety and a stunning display.
This comprehensive guide from build-coded.com will walk you through every step, from finding those elusive studs to choosing the perfect drywall anchor and installing it with confidence.
Quick Answer: Choosing the Right Anchor for Your Mirror’s Weight
The first and most critical step is to accurately estimate your mirror’s weight. Don’t guess! Use a bathroom scale if possible, or check manufacturer specifications. Once you know the weight, refer to this quick guide:
| Mirror Weight | Recommended Drywall Anchor Type | Notes
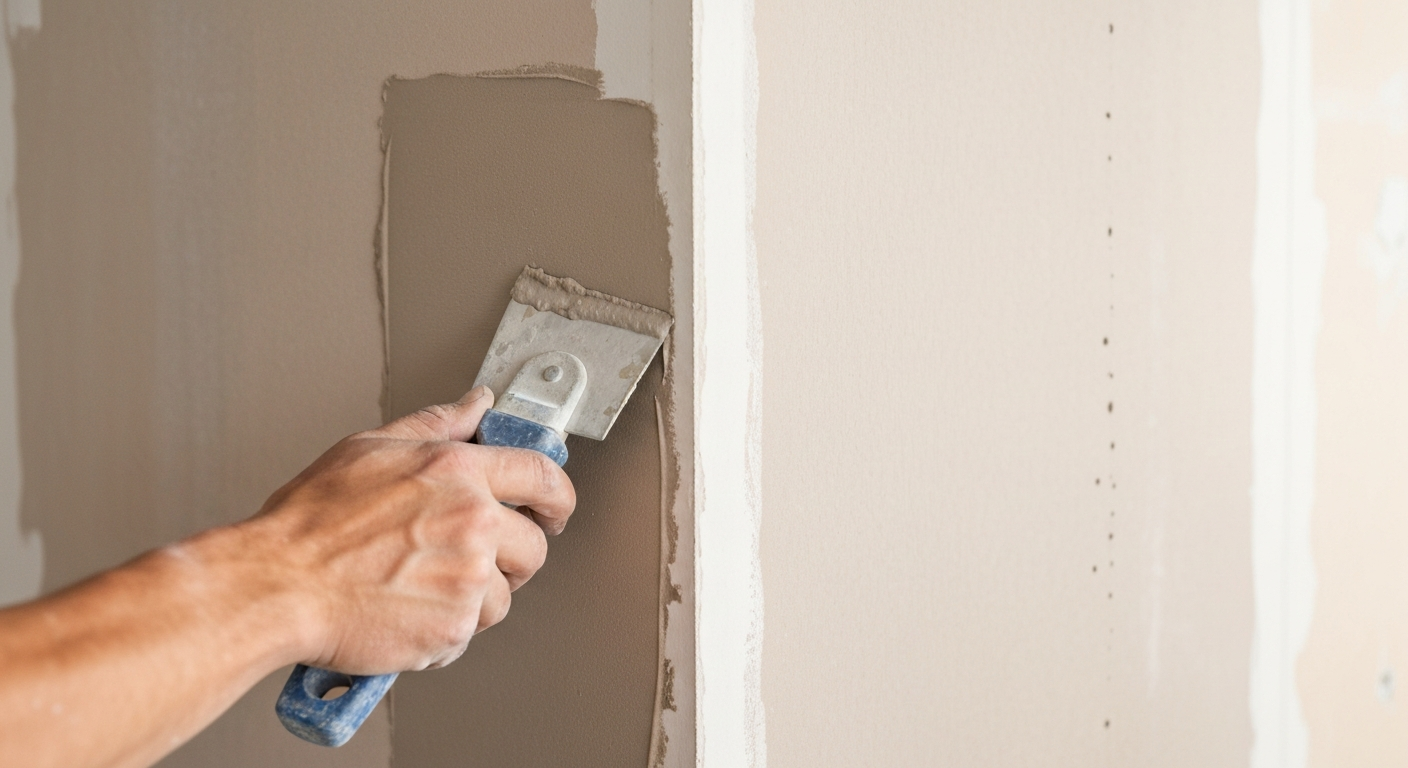
to the vast world of drywall anchors, it’s essential to understand their strengths and weaknesses. Drywall itself, typically 1/2-inch thick gypsum board, offers very little structural integrity. It’s the anchor that distributes the weight across a larger surface area of the drywall, or, in the case of toggle-style anchors, expands behind it to create a secure grip.
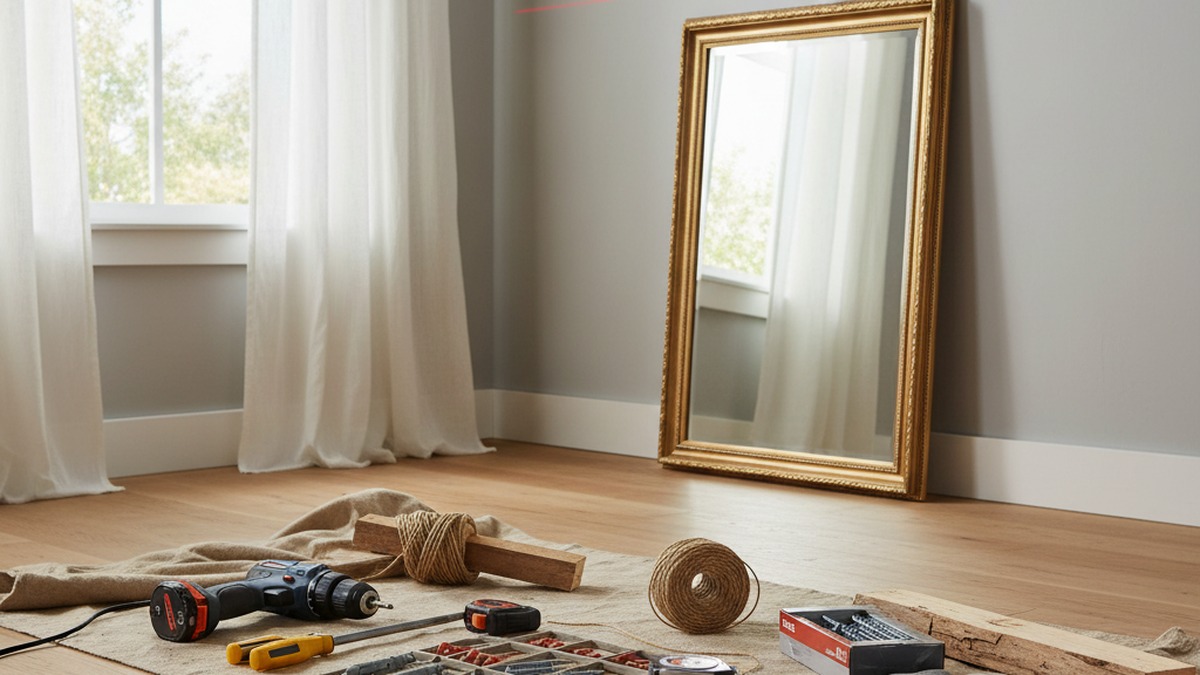
Tools You’ll Need
Before you start, gather your tools. Having everything on hand will make the process smoother and safer.
- Stud Finder: Electronic or magnetic. Essential for locating hidden studs.
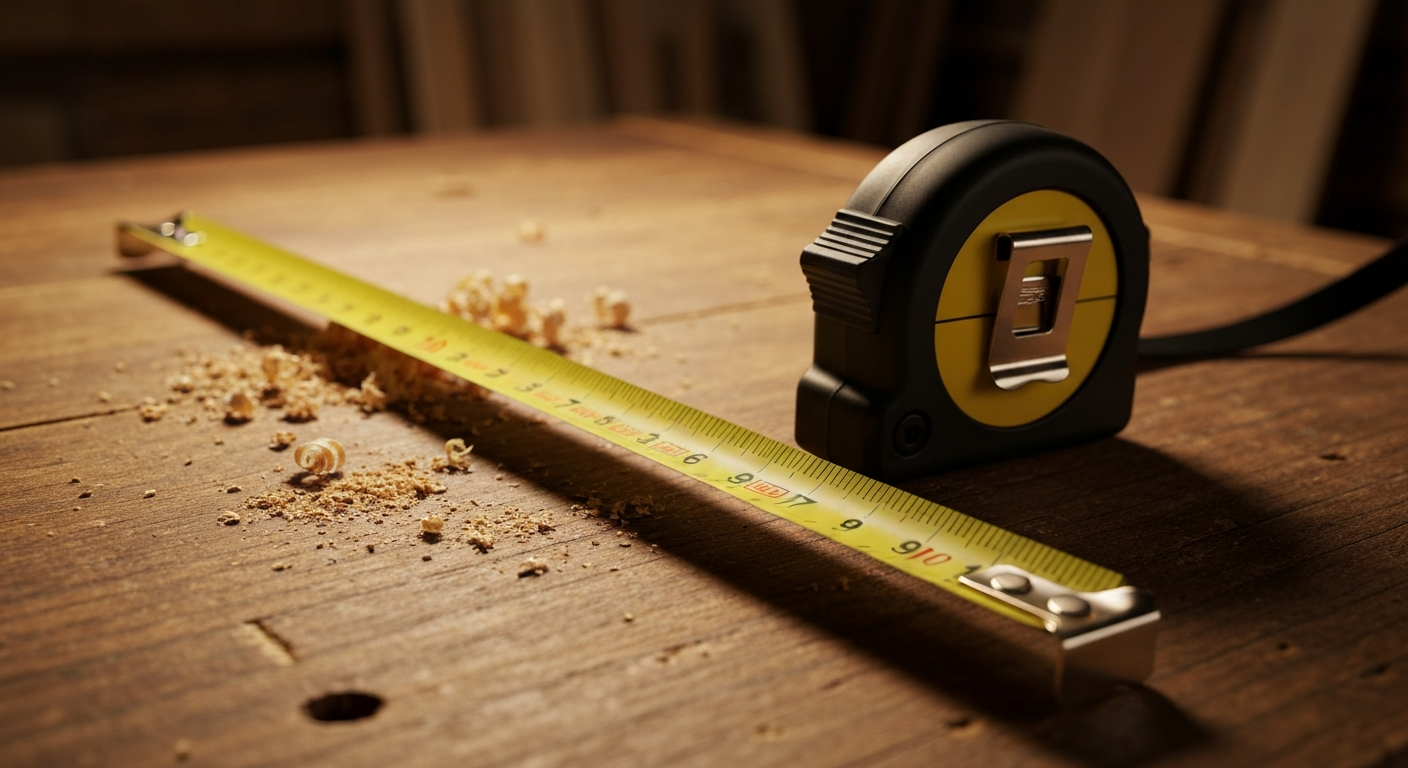
- Tape Measure: For accurate placement and mirror dimensions.
- Pencil: For marking anchor points.
- Level: A traditional bubble level or a laser level for perfect alignment.
- Drill & Drill Bits: Cordless drill with an assortment of drill bits appropriate for your chosen anchors (check anchor packaging for recommended bit size).
- Screwdriver: Phillips or flathead, depending on your anchor screws.
- Painter’s Tape: Useful for marking and creating templates.
- Heavy-Duty Drywall Anchors: (e.g., Toggler SnapToggle, traditional toggle bolts, Monkey Hooks) – selected based on mirror weight.
- Mirror Hanging Wire/Hardware: Ensure your mirror has appropriate hanging hardware (D-rings, picture wire, cleat system).
- Small Step Ladder: If your mirror is going to be hung high.
- Safety Glasses: Always protect your eyes.
- A Helper: For lifting and positioning heavy mirrors.
Finding Studs (and What to Do When You Can’t)
Your first priority should always be to find a stud. Studs are the vertical wooden or metal framing members behind your drywall, providing the strongest possible anchor point.
How to Find Studs:
- Electronic Stud Finder: The most common method. Calibrate it against a known stud (often near a window or door frame), then slowly scan the wall horizontally. It will beep or light up when it detects a stud. Mark both edges to find the center.
- Magnetic Stud Finder: These detect the metal screws or nails used to attach the drywall to the studs. They are simpler and don’t require batteries but can be slower.
- The “Knock” Test: Tap along the wall. A hollow sound indicates empty drywall, while a more solid, dull thud suggests a stud. This requires a good ear and practice.
- Outlet/Switch Plate Trick: Electrical outlets and light switches are almost always attached to a stud. Remove the cover plate (carefully, ensuring power is off if you’re going deep) and peek inside. You can often see the edge of a stud. Measure 16 or 24 inches (standard stud spacing) from the center of that stud to find others.
What to Do When You Can’t Find Studs (or They’re Not Where You Need Them):
Sometimes, despite your best efforts, you won’t find a stud exactly where you want to hang your mirror. This is where drywall anchors become your best friend. Do not proceed with regular screws or nails directly into drywall for a heavy mirror – it’s a recipe for disaster. This guide is specifically for those situations where studs are not an option.
Choosing the Right Anchor for Your Heavy Mirror
Once you’ve confirmed no studs are available, it’s time to select the right drywall anchor based on your mirror’s weight. Remember, the listed weight capacities are generally per anchor. If your mirror requires two anchors, you’re effectively doubling the system’s capacity, but each anchor must still be rated for at least half the total weight.
1. Plastic Drywall Anchors (< 25 lbs)
- Description: These are the most basic and common anchors, often included with lightweight items. They come in various styles:
- Self-Drilling/Threaded: These anchors screw directly into the drywall, creating their own hole. The screw then goes into the anchor.
- Expansion/Toggle-Type Plastic: You drill a pilot hole, insert the anchor, and as you screw into it, the anchor expands or flares out behind the drywall.
- Capacity: Generally rated for up to 10-25 lbs, depending on size and type.
- Best For: Small, lightweight mirrors, picture frames, or wall decor.
- Photos:
- Note: While they are anchors, they are not suitable for what we consider “heavy mirrors.” We’re including them for completeness and to highlight their limitations.


2. Monkey Hooks (25-50 lbs)
- Description: Monkey Hooks (a popular brand name, often generically referred to as wire picture hangers) are ingenious, simple-to-use hangers made of strong spring steel wire. They have a pointed end that you push and twist directly into the drywall, and a hook that protrudes from the wall. The long, thin shaft goes through the drywall and hooks behind it.
- Capacity: Typically rated for 35-50 lbs per hook.
- Best For: Medium-weight mirrors with a wire hanger. They are incredibly easy to install, requiring no tools other than your hands.
- Photos:
- Note: Excellent for quick, secure hanging within their weight limit. Ensure the mirror’s hanging wire is compatible and sits securely on the hook.

3. Toggler SnapToggle (50-100 lbs) - Our Workhorse!
- Description: The Toggler SnapToggle (a brand by Toggler Anchor) is a modern, heavy-duty toggle bolt that offers superior strength and ease of installation compared to traditional spring-wing toggles. It features a plastic strap with a metal channel (or “toggle bar”) at the end. You drill a hole, push the channel through, pull the strap to seat the channel flush against the back of the drywall, and then snap off the excess strap. The screw then threads into the metal channel.
- Capacity: Impressive, often 75-100 lbs per anchor in 1/2-inch drywall. (Always check specific product packaging for exact ratings).
- Best For: Most heavy mirrors, shelves, and TVs where studs aren’t available. They are incredibly strong and reliable.
- Photos:
- Note: This is our go-to recommendation for heavy mirrors due to its strength, ease of use, and reusability (the metal channel stays in the wall, but you can remove and re-insert the screw). Other brands like Hillman Hardware also produce similar high-quality toggle-style anchors.


4. Traditional Toggle Bolts (100+ lbs)
- Description: These consist of a long machine screw and a pair of spring-loaded wings. You drill a large pilot hole, compress the wings, push them through the hole, and they spring open behind the drywall. As you tighten the screw, the wings pull against the back of the drywall, creating a very strong grip.
- Capacity: Can hold 100-150 lbs or more per anchor, depending on size.
- Best For: Extremely heavy items where a stud cannot be found, and SnapToggles might not be quite enough.
- Photos:
- Note: While very strong, they require a larger drill hole, and if you ever remove the screw, the wings fall off inside the wall, making them non-reusable. For mirrors exceeding 100-150 lbs, it’s highly recommended to consult a professional or find a way to hit a stud, possibly by adding blocking behind the drywall.


Step-by-Step Installation: The Snaptoggle Method (Our Workhorse Anchor)
The Toggler SnapToggle is arguably the best all-around choice for heavy mirrors on drywall without studs. Here’s how to install them securely.
Preparation:
- Clean the Area: Ensure the wall is clean and free of dust.
- Measure Your Mirror:
- Determine the total height and width.
- Measure the distance from the top edge of the mirror to its hanging point (e.g., the wire, D-rings, or cleat system). This is crucial for accurate placement.
- Mark Desired Height: On your wall, use a pencil to mark the desired top edge of your mirror.
- Enlist a Helper: For heavy mirrors, do not attempt to lift and position alone.
A. Single Anchor Installation (for mirrors with a central wire or single D-ring):
- Determine Anchor Point: Measure down from your top-edge mark the distance you found in step 2 of “Measure Your Mirror.” This is where your single anchor will go. Mark it clearly.
- Drill the Hole: Refer to your SnapToggle packaging for the correct drill bit size (usually 1/2 inch). Drill a clean hole at your marked spot.
- Insert the SnapToggle:
- Fold the metal channel flat against the plastic strap.
- Push the metal channel through the drilled hole until it’s completely inside the wall cavity.
- Pull the plastic strap towards you until the metal channel is snug against the back of the drywall.
- Slide the plastic cap (the “ratchet”) along the strap until it’s flush against the wall. This locks the channel in place.
- Bend the strap back and forth until it snaps off, leaving the cap and metal channel securely inside the wall.
- Insert the Screw: Take the machine screw provided with the SnapToggle and thread it into the metal channel inside the wall. Turn it clockwise until it’s snug, but do not overtighten (see Torque Tips below). Leave enough of the screw exposed to hook your mirror’s wire or D-ring.
- Hang the Mirror: With your helper, carefully lift the mirror and hang it on the exposed screw. Check for level.
B. Two-Anchor Installation (for D-rings or a cleat system):
This method requires more precision to ensure the mirror hangs level and securely on two points.
- Create a Paper Template:
- Lay your mirror face down on a large sheet of butcher paper, craft paper, or even taped-together newspaper/cardboard.
- Trace the outline of the mirror.
- Carefully mark the exact locations of the D-rings or cleat mounting holes on your template.
- Label the top and bottom of your template.
- Tape Template to Wall:
- With your helper, hold the mirror template against the wall at the desired height and position.
- Use your level to ensure the template is perfectly straight.
- Secure the template to the wall with painter’s tape.
- Mark Anchor Points: Using your template, clearly mark the exact spots for your two SnapToggle anchors.
- Drill Holes: For each marked spot, drill the appropriate size hole (usually 1/2 inch for SnapToggles).
- Install SnapToggles: Follow steps 3 and 4 from the “Single Anchor Installation” above for each anchor. Insert the metal channels, pull the straps, seat the caps, and snap off the excess.
- Insert Screws & Level:
- Thread a machine screw into each installed SnapToggle.
- Tighten each screw until it’s snug, leaving enough exposed for your mirror’s D-rings or cleat.
- Use your level across the heads of the two exposed screws. Make small adjustments by slightly tightening or loosening one screw until they are perfectly level. This is critical for a straight mirror.
- Hang the Mirror: With your helper, carefully lift the mirror and align its D-rings or cleat holes with the exposed screws. Slowly lower it into place. Double-check the level one last time.
Torque Tips: Hand-Tight is Right, Don’t Crush Drywall
When tightening screws into drywall anchors, especially those that expand or pull against the back of the drywall:
- Snug, Not Super-Tight: The goal is to make the anchor feel secure, not to crush the drywall. Over-tightening can strip the anchor, crack the drywall, or cause the anchor to pull through, severely compromising its holding power.
- Use a Hand Screwdriver: For the final tightening, a hand screwdriver gives you better feel and control than a power drill, reducing the risk of over-tightening.
- Feel for Resistance: As you tighten, you’ll feel the anchor engage and become firm. Stop once it feels secure.
Removing Drywall Anchors Cleanly Later
Life changes, and you might need to move your mirror. Here’s how to remove common anchors with minimal damage:
- Plastic Drywall Anchors: Unscrew the screw. If it’s a self-drilling type, you can often unscrew the anchor itself. If it’s an expansion type, you can usually push the anchor into the wall cavity, or carefully pry it out. Then fill the small hole with spackle, sand, and paint.
- Monkey Hooks: Simply pull them straight out of the wall. The small hole they leave is easily filled with spackle.
- Toggler SnapToggles: Unscrew the screw. The metal channel and plastic cap will remain inside the wall. You can push the plastic cap into the wall cavity with your finger or the screw, then spackle over the remaining hole. If you leave the cap, it’s flush with the wall and can be spackled over directly.
- Traditional Toggle Bolts: Unscrew the screw. The spring-loaded wings will fall off inside the wall cavity. You’ll be left with a larger hole that needs to be patched with spackle or a drywall repair kit.
Common Mistakes to Avoid
- Guessing the Mirror’s Weight: Always estimate or measure the weight accurately. An undersized anchor is a safety hazard.
- Using the Wrong Anchor: Don’t use a small plastic anchor for a 50 lb mirror. Always match the anchor’s capacity to the mirror’s weight.
- Not Checking for Studs: Even if you plan on using anchors, always check for studs first. Hitting a stud is always the strongest and safest option.
- Over-tightening Screws: As discussed, this can damage the drywall and compromise the anchor’s hold.
- Rushing Measurements and Leveling: A crooked mirror is an eyesore, and inaccurate measurements can lead to extra holes in your wall. Take your time!
- Ignoring Safety: Always wear safety glasses. For heavy mirrors, always have a helper to lift and position. Back injuries are no fun.
- Assuming All Drywall is the Same: While most residential drywall is 1/2-inch, older homes or commercial buildings might have 3/8-inch or 5/8-inch. Check your anchor’s compatibility for drywall thickness.
FAQ
Q1: Can I use a regular nail or screw directly into drywall for a heavy mirror? A: Absolutely not! A regular nail or screw provides almost no holding power in drywall and will inevitably pull out, potentially damaging your mirror, wall, or even causing injury. Always use a proper drywall anchor.
Q2: What if my mirror is extremely heavy, say 200 lbs? A: For mirrors exceeding 100-150 lbs, relying solely on drywall anchors, even the strongest toggle bolts, becomes risky. Your best option is to find a stud and use heavy-duty lag screws or a French cleat system mounted directly into the studs. If no studs are available, consider professional installation or a floor-standing mirror.
Q3: How do I accurately determine my mirror’s weight? A: The best way is to weigh it on a bathroom scale. If it’s too large, check the manufacturer’s specifications or product listing online. When in doubt, always overestimate the weight and choose a stronger anchor.
Q4: Can I use two different types of anchors for one mirror (e.g., a Monkey Hook and a SnapToggle)? A: It’s generally not recommended. Different anchors have different load-bearing characteristics and failure points. It’s best to use two of the same type of anchor to ensure consistent support.
Q5: Is it safe to hang a heavy mirror above a bed without studs, using these anchors? A: Yes, if you correctly assess the mirror’s weight and use appropriate, properly installed heavy-duty anchors like Toggler SnapToggles, it is safe. Always ensure the anchors’ combined weight capacity exceeds your mirror’s weight by a comfortable margin for peace of mind.
Q6: How far apart should two anchors be for a mirror with D-rings? A: The anchors should be spaced exactly the same distance apart as the D-rings on the back of your mirror. This ensures the weight is evenly distributed and the mirror hangs straight. Using a paper template (as described in the two-anchor installation section) is the best way to get this right.
Q7: What if I accidentally drill into a pipe or electrical wire? A: Always be cautious when drilling into walls. Use a non-contact voltage detector to check for electrical wires, especially near outlets, switches, or light fixtures. Be extra careful if you suspect plumbing (e.g., behind a bathroom wall). If you hit something unexpected, stop immediately, turn off power/water if applicable, and assess the situation before proceeding.
Q8: Can I paint over these anchors? A: No, you should not paint over the anchors themselves as they are designed to be internal mounting points. If you remove an anchor and are left with a hole, you can spackle the hole, sand it smooth, and then paint over the patched area to match your wall.
With this guide, you’re now equipped to confidently and safely hang your heavy mirror on drywall, transforming your space without the need for studs. Happy hanging!
Related Reading
- Hardwood vs Laminate Flooring: The Complete Comparison Guide
- How to Fix a Running Toilet in 10 Minutes (No Plumber)
- Latex Paint vs Oil-Based Paint: Which Should You Use?
- How to Patch Drywall: Small to Large Repairs — fix the holes from anchor failures or earlier attempts before they become an eyesore