A Very Serious Warning Before We Start
I am going to be direct: working inside your electrical panel can kill you. This is not an exaggeration and it is not being dramatic. Even with the main breaker off, the wires feeding the main breaker from outside — called the service entrance conductors — are always live. They carry 240 volts at enough amperage to be fatal. You cannot shut them off from inside the house. Only the utility company can de-energize them by pulling the meter.
This guide exists because replacing a single circuit breaker is, mechanically speaking, a simple job. But simple does not mean safe. If any part of this guide makes you uncomfortable, if you are not confident around electricity, or if your panel looks different from what is described here, stop and call a licensed electrician. A service call to replace a breaker costs $100-200. That is cheap insurance against electrocution or burning your house down.
Rules for this entire project:
- Never touch the service entrance conductors (the thick wires coming into the top of the panel from outside). They are always hot.
- Never work in a panel that is wet or in a damp area without a licensed electrician.
- Always test with a voltage tester before touching any wire. “I turned it off” is not good enough. Test it.
- Work with one hand whenever possible. Keep the other hand behind your back or in your pocket. This prevents current from passing across your chest if you accidentally contact a live conductor.
- Wear rubber-soled shoes. Stand on a dry surface. Remove jewelry from your hands.
- If you are not sure, stop. This is the one project where “figuring it out as you go” can have fatal consequences.
Signs That a Circuit Breaker Needs Replacement
Before we get to the how, let us talk about the why. Not every tripping breaker needs replacement. Breakers are designed to trip — that is their job. But there are specific signs that indicate the breaker itself has failed.
The Breaker Trips Repeatedly Without Cause
If a breaker trips and you can identify why — you plugged in too many things, a motor started up, a short occurred — that is the breaker working correctly. But if a breaker trips repeatedly with a normal load, or trips immediately when reset with nothing plugged into the circuit, the breaker mechanism may be worn out.
Important: Before blaming the breaker, rule out a wiring problem. A tripping breaker can also indicate a short circuit in the wiring or a ground fault somewhere on the circuit. An electrician can test for these conditions. Replacing a good breaker because of a wiring fault solves nothing and hides a dangerous problem.
The Breaker Will Not Stay Reset
You push the breaker handle to the ON position and it immediately snaps back to the tripped (middle) position or to OFF. If nothing is drawing power on that circuit (everything unplugged), the breaker’s internal mechanism may be damaged.
The Breaker Will Not Trip When It Should
This is harder to detect but more dangerous. An overloaded circuit that does not trip means the breaker has failed in the closed position. Signs include warm or discolored outlet covers, flickering lights under load, a burning smell near outlets, or a breaker that feels hot to the touch. This is a fire hazard and requires immediate attention.
Visible Damage
A breaker that is scorched, melted, cracked, or has a burnt smell has experienced an internal fault. Replace it immediately — and have an electrician inspect the bus bar and panel for damage.
Age
Breakers degrade over time. If your panel is 30-40+ years old and you are having issues, the breakers may simply be worn out. Common brands in older panels include Federal Pacific (FPE) and Zinsco — both of which have known safety issues and should be evaluated by a licensed electrician for full panel replacement, not just individual breaker swaps.
Tools and Materials
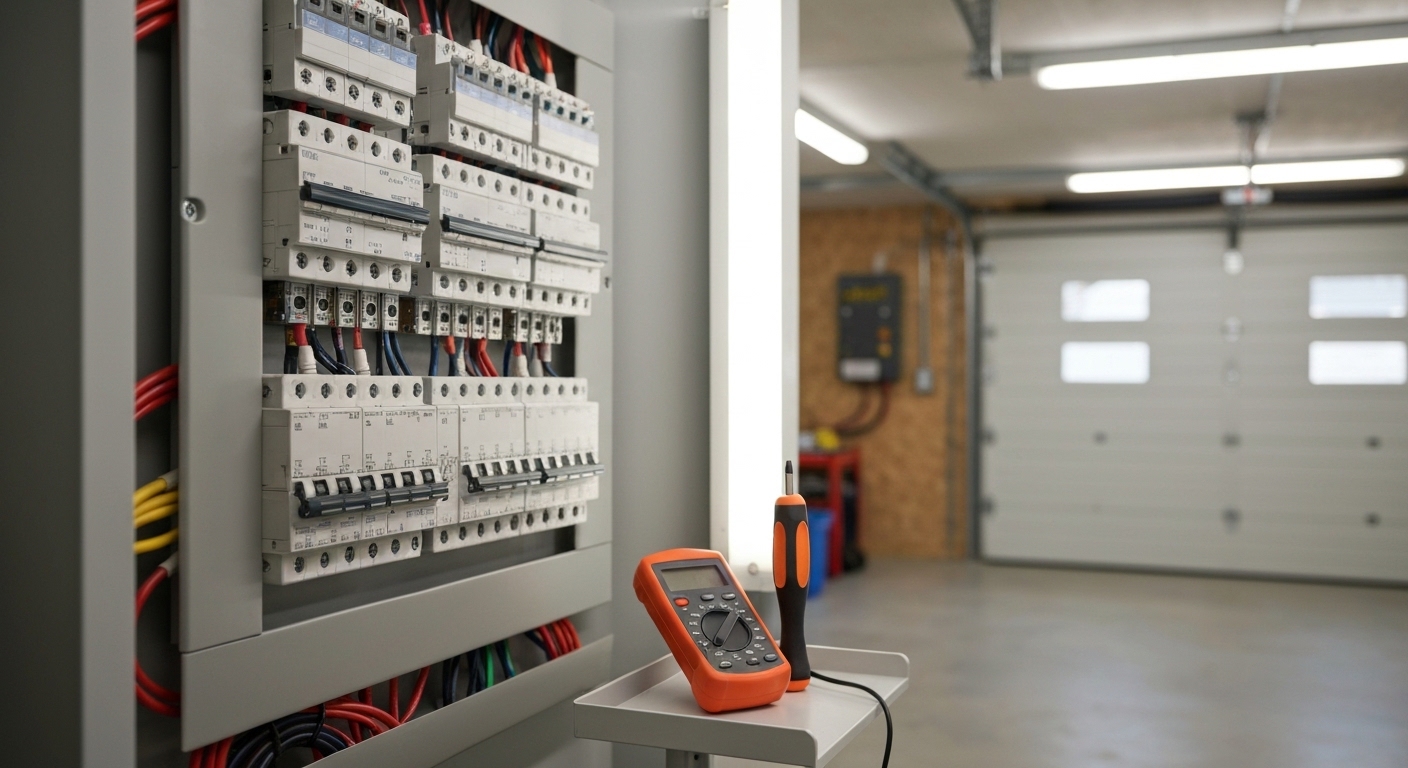
- Non-contact voltage tester — essential for confirming wires are de-energized. Do not skip this.
- Insulated screwdriver (flathead and Phillips)
- Flashlight or headlamp — panels are often in dark basements or garages
- Replacement breaker — must be the exact same brand, type, and amperage as the one you are removing. Breakers are not interchangeable between brands even if they look similar. A Square D breaker does not go in a Siemens panel. Check the panel label for compatible breaker types.
- Needle-nose pliers (insulated if possible)
- Wire labels or tape — to mark the wire position before removing
Cost: A standard single-pole 15 or 20 amp breaker costs $5-15. A double-pole breaker (for 240V circuits like dryers, ovens, or AC units) costs $10-30. AFCI and GFCI breakers cost $30-50.
Understanding Your Panel
Open your panel cover (the outer door, not the inner deadfront cover) and look at the label on the inside of the door. It tells you:
- The panel brand (Square D, Siemens, Eaton/Cutler-Hammer, GE, Murray, etc.)
- Compatible breaker types
- The panel’s maximum amperage rating
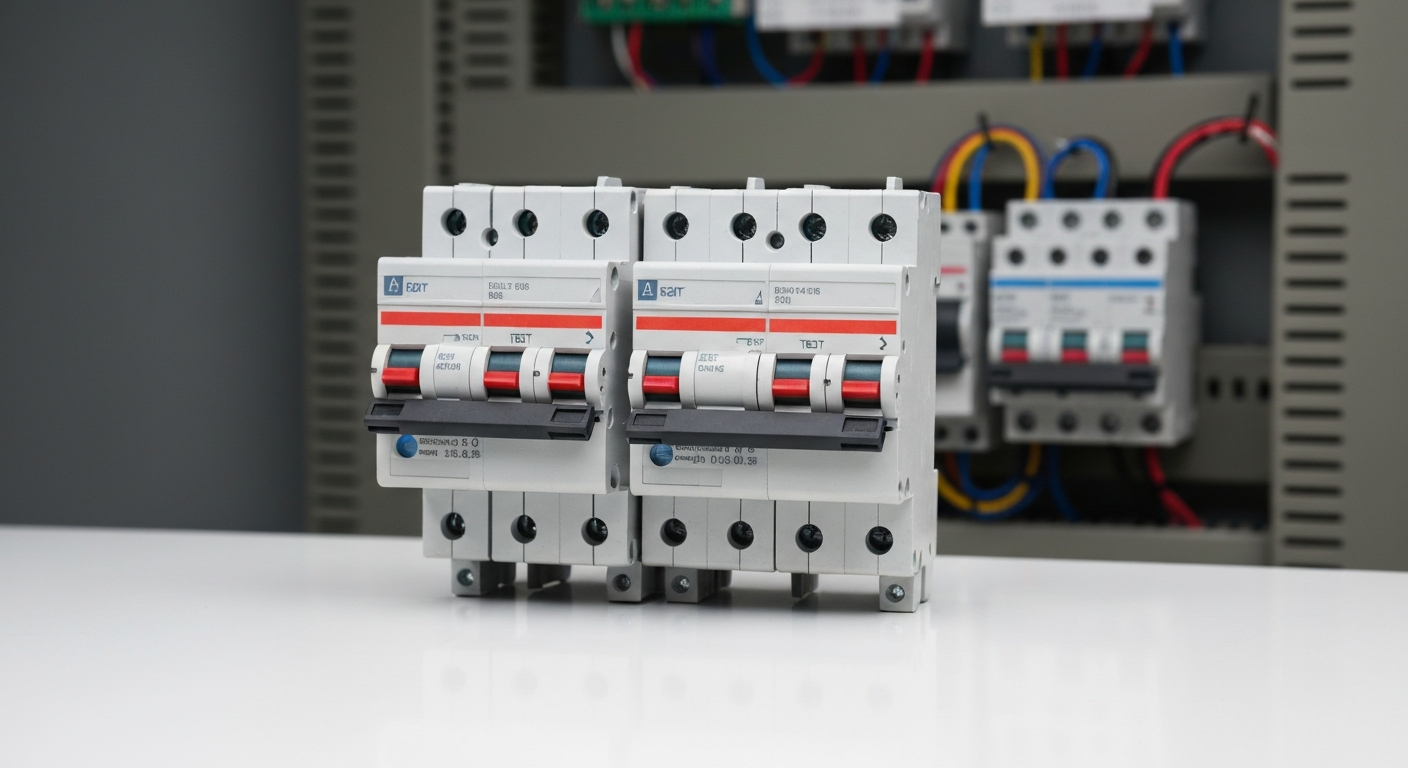
The panel interior has two main sections:
- The bus bars — two vertical metal bars (sometimes called “stabs”) running down the center of the panel. Breakers snap onto these bars and draw power from them.
- The breakers — each breaker snaps onto the bus bar on one side and connects to a circuit wire on the other. Single-pole breakers connect to one bus bar (120V). Double-pole breakers connect to both bus bars (240V).
- The neutral and ground bars — usually along the sides or bottom of the panel. White (neutral) and bare copper/green (ground) wires connect here.
Step-by-Step: Replacing a Circuit Breaker
Step 1: Turn Off the Main Breaker
Open the panel cover. The main breaker is the large breaker at the top of the panel (usually 100, 150, or 200 amps). Flip it to the OFF position.
Critical reminder: Turning off the main breaker de-energizes the bus bars and all the branch circuit breakers. However, the wires coming into the top of the panel from the meter (the service entrance conductors) remain live. These are usually thick, black wires connected to the top lugs of the main breaker. Do not touch them. Do not touch anything above the main breaker. Stay away from the top of the panel.
Step 2: Remove the Panel Deadfront Cover
The deadfront is the inner metal cover with rectangular slots cut out for each breaker handle. It is held in place by four to eight screws around the perimeter. Remove the screws and carefully lift the deadfront cover off.
With the deadfront removed, you can see the full interior of the panel — all the wires, the bus bars, and the backs of the breakers.
Step 3: Test for Voltage
Even though you turned off the main breaker, test for voltage. Turn on your non-contact voltage tester and hold it near the wire connected to the breaker you are replacing. It should not light up or beep.
Then test the bus bar near the breaker. It should also read as de-energized.
If anything reads as live with the main breaker off, stop immediately and call an electrician. Something is wired incorrectly.
Step 4: Identify the Breaker and Wire
The breaker you are replacing will have one wire connected to it (single-pole) or two wires (double-pole). The wire is secured by a screw terminal on the breaker.
Before disconnecting anything, note or photograph:
- Which slot the breaker occupies
- Which wire connects to it
- The wire color and size
- Whether the wire comes from the left or right side of the panel
Step 5: Disconnect the Wire
Using your insulated screwdriver, loosen the screw terminal on the breaker. The wire should pull free. Gently move the wire aside so it is out of your way, but do not bend it sharply — circuit wiring is usually solid copper and can break if bent repeatedly.
If this is an AFCI or GFCI breaker, it will also have a white pigtail wire connected to the neutral bar. Disconnect this as well and note where it was connected.
Step 6: Remove the Breaker
Breakers snap onto the bus bar and are held in place by a clip mechanism. The exact removal method varies slightly by brand, but the general process is:
- Grip the breaker firmly.
- Tilt the breaker toward the outside edge of the panel (away from the bus bar). The outer edge should lift out of its retaining clip first.
- Then pull the breaker off the bus bar.
It requires a firm tug but should not require excessive force. If the breaker will not come off, look for a retaining screw or clip that you are missing.
Step 7: Inspect the Bus Bar
With the breaker removed, look at the bus bar stab where it was seated. Check for:
- Scorching or blackening — indicates a poor connection that was arcing. Clean it with fine sandpaper or emery cloth. If the damage is severe (pitting, melting), call an electrician.
- Corrosion — clean it off. Light surface corrosion is normal in older panels.
- Physical damage — bent, broken, or deformed bus bar stabs need professional repair.
Step 8: Install the New Breaker
Verify the replacement breaker is the correct brand, type, and amperage. Compare it side by side with the old one — they should look identical.
Install the new breaker in reverse order of removal:
- Hook the outer edge of the breaker into the retaining rail.
- Press the inner edge (the bus bar contact side) firmly down onto the bus bar stab until it snaps into place.
The breaker should sit flush and level with the adjacent breakers. If it rocks, sticks up, or does not snap firmly into place, remove it and try again. A poorly seated breaker can arc, overheat, and cause a fire.
Step 9: Reconnect the Wire
Insert the circuit wire into the screw terminal on the new breaker. Tighten the screw firmly — snug enough that the wire does not pull out with a gentle tug, but not so tight that you strip the screw or damage the wire.
For AFCI or GFCI breakers, also reconnect the white pigtail wire to the neutral bar.
Make sure no bare wire is exposed outside the terminal. The insulation should reach all the way to the screw terminal or nearly so.
Step 10: Replace the Deadfront Cover
Set the deadfront cover back in place, making sure all breaker handles poke through their slots correctly. Reinstall the screws.
Step 11: Turn On the Main Breaker
With the deadfront cover secured, turn the main breaker back to ON. Then turn on the new breaker.
Step 12: Test the Circuit
Go to the room or area served by the circuit. Plug something in and test it. If it is a lighting circuit, flip the switches. Verify the circuit is working.
Come back to the panel and feel the new breaker (with the back of your hand — never wrap your fingers around a breaker). It should be room temperature or very slightly warm. If it is hot, turn it off immediately and investigate — a hot breaker indicates a problem.
AFCI and GFCI Breakers: Additional Notes
Modern electrical codes in many jurisdictions require AFCI (arc fault circuit interrupter) breakers for bedrooms, living rooms, and other living spaces, and GFCI (ground fault circuit interrupter) breakers for kitchens, bathrooms, garages, and outdoor circuits.
If you are replacing a standard breaker, check whether your local code now requires an AFCI or GFCI breaker in that location. If it does, upgrade to the appropriate type — this is a code compliance issue and a safety improvement. AFCI and GFCI breakers cost more ($30-50 vs $5-15) but provide meaningful protection against fires and electrocution.
AFCI and GFCI breakers have an extra wire — a white pigtail — that connects to the neutral bar in the panel. The circuit’s neutral wire connects to the breaker itself rather than to the neutral bar. This is how the breaker monitors for faults. Follow the manufacturer’s wiring diagram included with the breaker.
Common Mistakes to Avoid
- Using the wrong breaker brand or type. Breakers are not universal. A Square D QO breaker does not fit a Square D Homeline panel, even though both are Square D. Match the brand and series exactly.
- Not testing for voltage. “I flipped the main” is not a substitute for testing with a voltage tester. Wiring mistakes exist. Mis-labeled panels exist. Double-fed breakers exist. Test every time.
- Touching the service entrance conductors. The thick wires at the top of the panel are always live. There is no switch inside your house that turns them off. Stay away from them.
- Replacing a breaker that trips because of a wiring fault. If the new breaker also trips, the problem is not the breaker. It is a short circuit, ground fault, or overload on the circuit. Putting in a larger breaker to stop the tripping is extremely dangerous — breakers are sized to match the wire gauge. A 20-amp breaker on 14-gauge wire (which is rated for 15 amps) can overheat the wire and cause a fire.
- Upsizing a breaker. Never replace a 15-amp breaker with a 20-amp breaker unless the wire on that circuit is 12-gauge or larger. The breaker protects the wire, not just the devices on the circuit.
- Working in a panel with water or moisture. Water and electricity are a fatal combination. If your panel is in a damp location or has had water intrusion, call an electrician.
- Leaving exposed copper wire outside the terminal. All connections should be tight with insulation reaching to or near the terminal. Exposed wire inside a panel is an arc flash and fire risk.
Cost Comparison: DIY vs. Electrician
| DIY | Licensed Electrician | |
|---|---|---|
| Standard breaker (15/20A) | $5-15 | $100-200 |
| AFCI/GFCI breaker | $30-50 | $150-250 |
| Double-pole breaker (240V) | $10-30 | $125-225 |
| Time | 30-60 minutes | 30 minutes |
The cost savings are real, but they need to be weighed against the risk. An electrician brings experience, insurance, and the ability to spot problems you might miss — a corroded bus bar, an overloaded panel, aluminum wiring, or code violations.
When to Hire a Licensed Electrician
This project is firmly in the “can be done by a confident homeowner but has real consequences if done wrong” category. Call an electrician if:
- Your panel is a Federal Pacific (FPE) or Zinsco brand. These panels have well-documented safety issues. Individual breaker replacement is not a sufficient fix — the whole panel should be evaluated for replacement.
- You see signs of arcing, melting, or heat damage inside the panel. This indicates problems beyond a single failed breaker.
- The panel has aluminum wiring. Aluminum wiring requires specific handling and connections. It was common in homes built in the mid-1960s to mid-1970s.
- You need to work near or above the main breaker. The service entrance conductors are always live. Only utility workers or electricians with proper PPE should work near them.
- You are adding a new circuit, not just replacing a breaker. Running new wire, adding a breaker to an empty slot, and connecting new circuits requires electrical knowledge, permits, and inspection in most jurisdictions.
- Your local code requires permits for panel work. Some jurisdictions require a permit and inspection for any work inside the electrical panel, even a breaker swap. Check before you start.
- You are uncomfortable at any point. Trust your gut. The money saved is not worth the risk if you are not confident.
Frequently Asked Questions
How much does it cost to replace a circuit breaker?
A standard 15A or 20A breaker costs $5-$15 in parts. If you do it yourself, that’s the entire cost. Hiring a licensed electrician for the same job typically runs $100-$200. AFCI and GFCI breakers cost more — $30-$50 in parts, $150-$250 installed.
Can I replace a circuit breaker myself?
Yes, if you take it seriously. The mechanical work is simple — unsnap the old breaker, snap in the new one. The danger is the live service-entrance lugs above the main breaker, which are still energized even when the main is off. If you respect that boundary and follow every safety step, a confident homeowner can do this in 30 minutes.
Is it safe to replace a breaker without turning off the main?
No. Always turn off the main breaker before opening the panel. Even with the main off, the service-entrance conductors at the top of the panel remain live. Use a non-contact voltage tester to verify the breaker terminals are dead before touching anything.
How do I know which breaker to buy?
Match three things: brand (Square D, Siemens, Eaton — they are not interchangeable), amperage (15A, 20A, 30A), and type (standard, AFCI, GFCI, dual-function). Take the old breaker to the hardware store. Generic “compatible” breakers can void your panel’s UL listing and your insurance.
How long does a circuit breaker last?
Modern breakers have a service life of 30-40 years under normal use. Frequent tripping, exposure to moisture, or heat damage can shorten that significantly. If your panel is older than 25 years and a breaker has failed, consider having an electrician evaluate the whole panel.
The Bottom Line
Replacing a circuit breaker is mechanically one of the simplest electrical jobs — you are literally unsnapping one component and snapping in another. But the environment you are working in demands absolute respect. The panel carries enough power to kill you instantly, and mistakes can cause fires that endanger your home and family.
If you decide to do it yourself, follow every safety step in this guide without shortcuts. Turn off the main breaker. Test for voltage. Do not touch the service entrance conductors. Use the correct replacement breaker. And if anything looks wrong, smells wrong, or feels wrong, stop and call a professional. A $150 electrician visit is the cheapest insurance you will ever buy.
Related reading: DIY vs Hire: When to Call a Pro