The Appliance You Forget Until It Fails
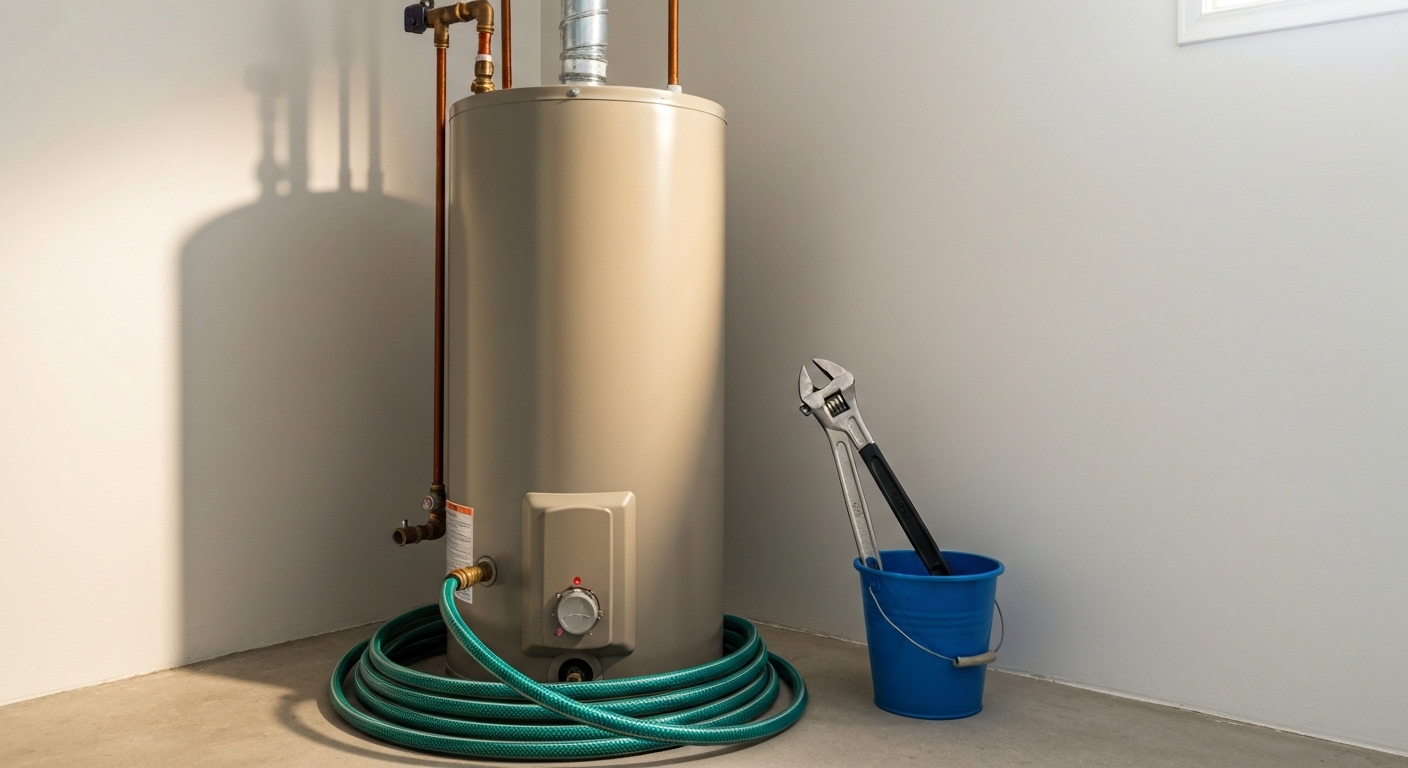
Your water heater runs every single day, heating water for showers, dishes, laundry, and everything else. It sits in a utility closet or basement corner doing its job without complaint — until it does not. And when a water heater fails, it usually fails dramatically: either you wake up to an ice-cold shower or you come home to 40-80 gallons of water on your floor.
The average tank water heater lasts 8-12 years. With annual maintenance, you can push that to 15 years or more and avoid the catastrophic failures that cause water damage. The maintenance itself takes about an hour once a year and costs almost nothing. Yet most homeowners never do it.
This guide covers everything you need to do, how often, and how to know when maintenance is no longer enough and replacement is the right call.
The Annual Maintenance Checklist
Do these tasks once a year. Pick a date you will remember — the start of winter is a natural choice since you are about to lean heavily on your hot water supply.
1. Flush the Sediment
Why it matters: Minerals in your water — primarily calcium and magnesium — settle to the bottom of the tank over time. This sediment layer insulates the water from the burner (gas) or heating elements (electric), forcing your heater to work harder and use more energy. In gas heaters, sediment causes hot spots on the tank bottom that accelerate corrosion. You might also hear popping, crackling, or rumbling sounds — that is water trapped under sediment being superheated and escaping as steam.
How to do it:
Step 1: Turn off the heat source. For gas heaters, turn the gas valve to “pilot” or “vacation” mode. For electric heaters, flip the breaker at the electrical panel. Do not skip this — heating an empty or partially empty tank can damage the heating elements or overheat the tank.
Step 2: Connect a garden hose to the drain valve at the bottom of the tank. Run the hose to a floor drain, utility sink, or outside. The water coming out will be hot — keep hands and feet clear of the hose end.
Step 3: Open a hot water faucet somewhere in the house (a bathroom sink works well). This breaks the vacuum and allows the tank to drain.
Step 4: Open the drain valve. Let water flow until it runs clear. The first few gallons will likely be rusty or muddy — that is the sediment. If the water is very dirty, you may need to let it run for 5-10 minutes.
Step 5: If the water does not clear up, or if the flow is very weak, sediment may be blocking the drain valve. Close the valve, let the tank refill partially, then drain again. The incoming water pressure can help break up and flush out compacted sediment.
Step 6: Once the water runs clear, close the drain valve, remove the hose, and turn the heat source back on. Close the faucet you opened in Step 3 once water flows normally from it (this means the tank has refilled).
Tip: If you have never flushed your water heater and it is more than 5 years old, proceed cautiously. Old drain valves can be corroded and may leak after being opened for the first time. Have a cap and thread tape ready in case the valve does not seal properly when you close it. In worst cases, the valve itself may need replacement.
2. Test the Temperature and Pressure Relief (TPR) Valve
Why it matters: The TPR valve is the single most important safety device on your water heater. If the temperature or pressure inside the tank exceeds safe limits, this valve opens automatically to release water and prevent the tank from exploding. A failed TPR valve on a water heater under pressure is a genuine safety hazard — and it is not an exaggeration to say that failed valves have launched water heaters through roofs.
How to do it:
Step 1: Place a bucket under the TPR discharge pipe (the pipe that runs from the valve down the side of the tank, usually ending 6 inches from the floor).
Step 2: Lift the lever on the TPR valve. You should hear a rush of air or see water flow from the discharge pipe. Hot water will come out — wear gloves and keep clear.
Step 3: Release the lever. The valve should snap shut and the water should stop immediately.
If the valve does not open: Replace it. A stuck TPR valve is not protecting you.
If the valve does not close and water keeps running: The valve seat is fouled or the valve is defective. Replace it. TPR valves cost $10-20 and are straightforward to swap — you unscrew the old one and screw in the new one. Just drain the tank below the valve level first.
If the valve is leaking or dripping regularly: This can indicate excessive pressure in your system. Check that your water heater temperature is not set above 120-130 degrees. If the temperature is normal and the valve still leaks, you may need a thermal expansion tank installed on your cold water supply line — this is common in closed plumbing systems with a check valve or pressure regulator.
3. Inspect the Anode Rod
Why it matters: The anode rod is a sacrificial metal rod (usually magnesium or aluminum) that hangs inside the tank. It corrodes so the tank does not. Over time, the rod dissolves completely, and once it is gone, the tank itself starts corroding from the inside. A depleted anode rod is the most common reason water heaters fail prematurely.
How to do it:
Step 1: Turn off the power or gas to the heater.
Step 2: Locate the anode rod — it is usually accessible from the top of the tank through a hex head fitting. Some heaters have the rod attached to the hot water outlet nipple (you will need to remove the hot water line to access it).
Step 3: Use a 1-1/16 inch socket and a breaker bar to loosen the rod. It may be very tight — a cheater pipe on the breaker bar helps. Have someone hold the tank to prevent it from spinning as you break the rod loose.
Step 4: Pull the rod up and out. Inspect it. A healthy rod is mostly intact with some pitting. A rod that needs replacement will be severely corroded — down to the wire core or with large chunks missing. If the rod is less than 1/2 inch thick in any section, replace it.
Step 5: Install the new rod. Apply a few wraps of thread tape to the threads, insert the rod, and tighten firmly with the socket. Do not overtighten — you can crack the fitting.
Replacement cost: $20-50 for the rod itself. This single part is the difference between a water heater lasting 8 years and one lasting 15.
Note: If your ceilings are low and you cannot pull the rod straight up, buy a flexible segmented anode rod. These bend as you remove and insert them, requiring much less clearance.
4. Check the Temperature Setting
Why it matters: Most water heaters come from the factory set to 140 degrees Fahrenheit. That is hotter than necessary for residential use and wastes energy. The Department of Energy recommends 120 degrees — hot enough for comfortable showers and effective dishwashing, but significantly reducing scalding risk and energy costs.
How to do it:
- Gas heaters: The temperature dial is on the gas valve at the front of the unit. Turn it to 120 degrees or the “warm” setting.
- Electric heaters: Remove the upper and lower access panels (usually held by two screws each). Behind the insulation, you will find a thermostat with a temperature dial. Use a flathead screwdriver to set it to 120 degrees. Do this for both the upper and lower thermostats.
Safety note: Always turn off the breaker before accessing electric water heater thermostats. The wiring inside carries 240 volts.
Each 10-degree reduction in temperature saves approximately 3-5% on water heating costs. For most households, the difference between 140 and 120 degrees saves $30-50 per year.
5. Inspect the Burner or Heating Elements
Gas Water Heaters
Remove the access panel at the base of the unit and visually inspect the burner flame. A healthy flame is blue with a slight yellow tip. If the flame is mostly yellow, the burner is not getting enough air — the air intake screen may be clogged with dust and lint. Clean it with a vacuum or brush.
Also check the area around the base of the heater for scorch marks or soot. These indicate incomplete combustion, which is both an efficiency problem and a potential carbon monoxide hazard. If you see soot, call a professional to inspect the unit.
While you are down there, check the flue pipe (the metal pipe that runs from the top of the heater to the chimney or through the roof). Ensure all connections are tight and there are no gaps or corrosion. A disconnected or corroded flue can leak carbon monoxide into your home.
Electric Water Heaters
Heating element inspection requires draining the tank, which you can combine with the sediment flush. If your electric heater is taking longer to heat water or you are getting less hot water than usual, a failed heating element is the most likely cause. You can test elements with a multimeter — they should show continuity. Replacement elements cost $10-25 and screw into the tank with a special element wrench ($8).
6. Check for Leaks
Do a visual inspection of the entire unit:
- Inlet and outlet connections at the top of the tank — look for mineral deposits, corrosion, or drips at the fittings
- TPR valve and discharge pipe — any dripping indicates a problem (see Section 2)
- Drain valve at the bottom — should be fully closed and dry
- Base of the tank — water pooling underneath the heater can indicate an internal leak (tank corrosion). If the tank itself is leaking, maintenance is over — you need a new water heater.
- Gas line connections (gas heaters) — use a soap and water solution on fittings and watch for bubbles. Any bubbles mean a gas leak — shut off the gas and call your gas utility.
Tankless Water Heater Maintenance
Tankless units need less maintenance than tank heaters, but they are not maintenance-free. The main concern is mineral scale buildup in the heat exchanger.
Annual Descaling (Vinegar Flush)
This is the most important maintenance task for a tankless unit, especially if you have hard water.
What you need:
- Two short washing machine hoses
- A small submersible pump ($25-40 — a utility pump or small sump pump works)
- A 5-gallon bucket
- 4 gallons of white vinegar
How to do it:
Step 1: Turn off the gas or electricity to the unit.
Step 2: Close both the hot and cold water isolation valves on the unit. If your unit does not have isolation valves, you will need to install them — they are essential for maintenance and most codes require them.
Step 3: Connect a hose from the cold water service port (small drain valve on the cold side) to the pump sitting in the bucket.
Step 4: Connect a hose from the hot water service port to the bucket.
Step 5: Fill the bucket with white vinegar.
Step 6: Turn on the pump and circulate the vinegar through the unit for 45-60 minutes. The vinegar dissolves mineral scale inside the heat exchanger.
Step 7: Turn off the pump. Drain the vinegar. Fill the bucket with clean water and circulate it for 5 minutes to rinse.
Step 8: Remove hoses, close service ports, open isolation valves, and restore power.
Other Tankless Maintenance Tasks
- Clean the inlet filter every 6 months. It is a small screen on the cold water inlet that catches sediment. Pull it out, rinse it under running water, and reinstall.
- Check the venting annually. Inspect the vent pipe for blockages, nesting, or corrosion. Condensing tankless units have PVC venting that can occasionally sag at joints — make sure all connections are sealed and sloped properly for condensate drainage.
- Check error codes. Most tankless units display error codes on the unit or remote control. If you see a persistent code, look it up in the manual. Common codes relate to ignition failure, flame detection, or flow sensor issues.
Warning Signs Your Water Heater Is Failing
Maintenance can extend the life of your water heater, but every unit has a finite lifespan. Know these warning signs:
-
Rusty or discolored hot water. If you see rusty water coming from only the hot taps (not the cold), the inside of the tank is corroding. Once the tank starts rusting, replacement is the only fix.
-
Rumbling or banging sounds. Some noise during heating is normal. Loud, persistent rumbling, banging, or popping means heavy sediment buildup. If flushing does not resolve it, the sediment has hardened and the tank is working under excessive strain.
-
Visible rust on the tank or connections. Rust on the exterior, especially at seams and fittings, suggests the tank integrity is compromised.
-
Leaking from the tank body. Not from a fitting or valve — from the tank itself. This is non-repairable. The tank has corroded through and failure is imminent.
-
Water not getting as hot as it used to. This could be a failed heating element (fixable) or a tank choked with sediment (potentially fixable). But in an old unit, it is often a sign that the system is nearing end of life.
-
Age. If your tank water heater is 10-15 years old and you are starting to see any of the above symptoms, replacement is usually more cost-effective than repair. Tankless units typically last 15-20 years with proper maintenance.
When to Replace vs. Repair
Repair if:
- The unit is less than 8 years old
- The issue is a replaceable part (element, thermocouple, anode rod, TPR valve, thermostat)
- There is no visible rust on or leaking from the tank body
Replace if:
- The tank itself is leaking
- The unit is 12+ years old and having multiple issues
- Repair costs exceed 50% of a new unit
- You are seeing rusty water from the hot side despite a new anode rod
- Energy bills have climbed noticeably and the unit is old
Tank vs. tankless replacement: Tankless units cost 2-3 times more upfront ($1,500-3,500 installed vs. $800-1,500 for a tank), but use 30-50% less energy over their lifetime. They also last longer (15-20 years vs. 8-12). Whether the upfront premium is worth it depends on your plans — if you are staying in the home long-term, tankless usually pays for itself. If you are selling in a few years, a quality tank heater is the practical choice.
Safety Reminders
Water heater maintenance involves hot water, electricity, and potentially gas. Keep these in mind:
- Always turn off the heat source before working on the unit. Gas valve to pilot. Electric breaker to off.
- The water in the tank is hot — often hotter than your tap setting due to stratification. Use caution when opening the drain valve or TPR valve. Wear gloves.
- If you smell gas at any point, do not try to fix it yourself. Leave the area, do not flip any switches, and call your gas utility from outside.
- Carbon monoxide detectors should be installed near any gas water heater. If you do not have one, install one today. This is not optional.
- Know where your water shut-off is before you start any maintenance. If a valve fails or a fitting leaks, you need to stop the water supply quickly.
A Simple Annual Schedule
To make this easy, here is a condensed checklist you can tape to your water heater:
Every Year (Pick a Date):
- Flush sediment (15-30 minutes)
- Test TPR valve (2 minutes)
- Inspect anode rod (15-20 minutes)
- Check temperature setting (2 minutes)
- Inspect burner flame or heating elements (5-10 minutes)
- Visual leak inspection (5 minutes)
- Check flue pipe connections — gas only (5 minutes)
Total time: About 1 hour Total cost: $0 (unless you need a replacement anode rod or TPR valve)
The Bottom Line
Water heater maintenance is one of those tasks that costs almost nothing, takes about an hour, and prevents thousands of dollars in potential damage. A failed water heater does not just mean cold showers — it means 40-80 gallons of water flooding your basement or utility room, damaging floors, walls, and anything stored nearby. An hour of annual maintenance is the cheapest insurance you will ever buy. Put it on your calendar, do it once a year, and your water heater will return the favor by running quietly and reliably for years longer than it would otherwise.
Related reading: DIY vs Hire: When to Call a Pro
Related Reading
- Bathroom Renovation Cost Breakdown by Budget
- Best Cordless Drills for Every Budget: 7 Models Compared
- Best Paint Sprayers for Home Use Compared
- How to Install Gutter Guards: The Complete DIY Guide — pair your water heater flush with a gutter guard installation for a productive home maintenance weekend
- How to Install a French Drain: Stop Water Problems for Good — the exterior water management project that protects the same utility spaces your water heater occupies