Drywall, while durable, is susceptible to damage from everyday life – a misplaced nail, a rambunctious child, or an enthusiastic doorknob can all leave their mark. While a gaping hole might seem daunting, patching drywall is a highly achievable DIY project that can restore the pristine look of your walls. This comprehensive guide will walk you through the process, tailored to the size and type of hole, ensuring a professional-looking finish for your build-coded.com projects.
We’ll cover everything from tiny nail holes to significant damage requiring a new piece of drywall, detailing the tools, materials, and step-by-step techniques for each scenario, including the crucial stages of taping, three-coat mudding, feathering, sanding, and priming.
Repairing Tiny Holes: Nail and Screw Holes
Tiny holes, such as those left by picture hangers, screws, or small nails, are the easiest and quickest to fix. These often don’t even require joint compound, making spackle the ideal choice.
Tools & Materials:
- Spackle (lightweight spackle is excellent for small repairs)
- Small putty knife (1-inch or 2-inch)
- 220-grit sandpaper or sanding sponge
- Damp cloth
- Drywall primer (small can)
- Matching wall paint
Step-by-Step Guide:
-
Preparation: Examine the hole. If there’s any raised paper or loose plaster around the edge, gently trim it away with the tip of your putty knife or a utility knife. The goal is a clean, slightly recessed opening. Wipe the area clean with a damp cloth to remove any dust or debris, ensuring good adhesion for the spackle.
-
Apply Spackle: Open your spackle container. Using your small putty knife, scoop a small amount of spackle – roughly the size of a pea for most nail holes. Place the spackle directly over the hole. Using firm, even pressure, spread the spackle into the hole, ensuring it fills completely. Scrape off any excess spackle, leaving the surface as flush as possible with the surrounding wall. For deeper holes, you might need to apply spackle in two thinner layers, allowing the first to dry before applying the second, to prevent excessive shrinkage.
-
Allow to Dry: Spackle typically dries much faster than joint compound, often within 30 minutes to a few hours, depending on humidity and thickness. Consult the manufacturer’s instructions on the product label for specific drying times. The spackle will usually change color (e.g., from pink to white) when fully dry.
-
Sand Smooth: Once completely dry, lightly sand the patched area with 220-grit sandpaper or a fine-grit sanding sponge. Use gentle, circular motions, applying minimal pressure. The aim is to create a perfectly smooth surface that is indistinguishable from the surrounding wall. Be careful not to over-sand and create a depression.
-
Clean and Prime: Wipe away all sanding dust with a damp cloth, then allow the area to dry. Apply a small amount of drywall primer to the patched spot using a small brush or a dabber. Primer is crucial here, even for small patches, as it seals the porous spackle, prevents the patch from “flashing” (appearing dull or absorbing paint differently than the surrounding wall), and promotes better paint adhesion. Allow the primer to dry according to its instructions.
-
Paint: Once the primer is dry, apply a coat of your matching wall paint. For best results and to ensure the patch truly disappears, you may need two coats of paint. Feather the edges of your paint application slightly beyond the patch to blend it seamlessly with the existing wall finish.
Repairing Small Holes (Up to 6 Inches): Self-Adhesive Mesh Patch or California Patch
For holes larger than a nail but generally up to six inches in diameter, you have two excellent options: a self-adhesive mesh patch or a “California patch” (also known as a hot patch). Each has its advantages, and the choice often comes down to personal preference or the exact nature of the damage.
Option A: Self-Adhesive Mesh Patch
This method is quick, easy, and requires minimal tools, making it a popular choice for DIYers.
Tools & Materials:
- Self-adhesive mesh drywall repair patch (sized appropriately for your hole)
- All-purpose joint compound (pre-mixed is convenient)
- 6-inch drywall knife
- 10-inch drywall knife (optional, but helpful for feathering)
- 150-grit and 220-grit sandpaper or sanding sponges
- Damp cloth
- Drywall primer
- Matching wall paint
Step-by-Step Guide:
-
Preparation: Carefully remove any loose or frayed drywall paper around the hole. Use a utility knife to trim any jagged edges, creating a relatively clean opening. Ensure the area is free of dust and debris by wiping it with a damp cloth. The surface must be clean and dry for the mesh patch to adhere properly.
-
Apply the Mesh Patch: Peel the backing from the self-adhesive mesh patch. Center the patch directly over the hole, ensuring it completely covers the damaged area. Press firmly on the patch to ensure it adheres securely to the wall. The patch provides the structural reinforcement for your repair.
-
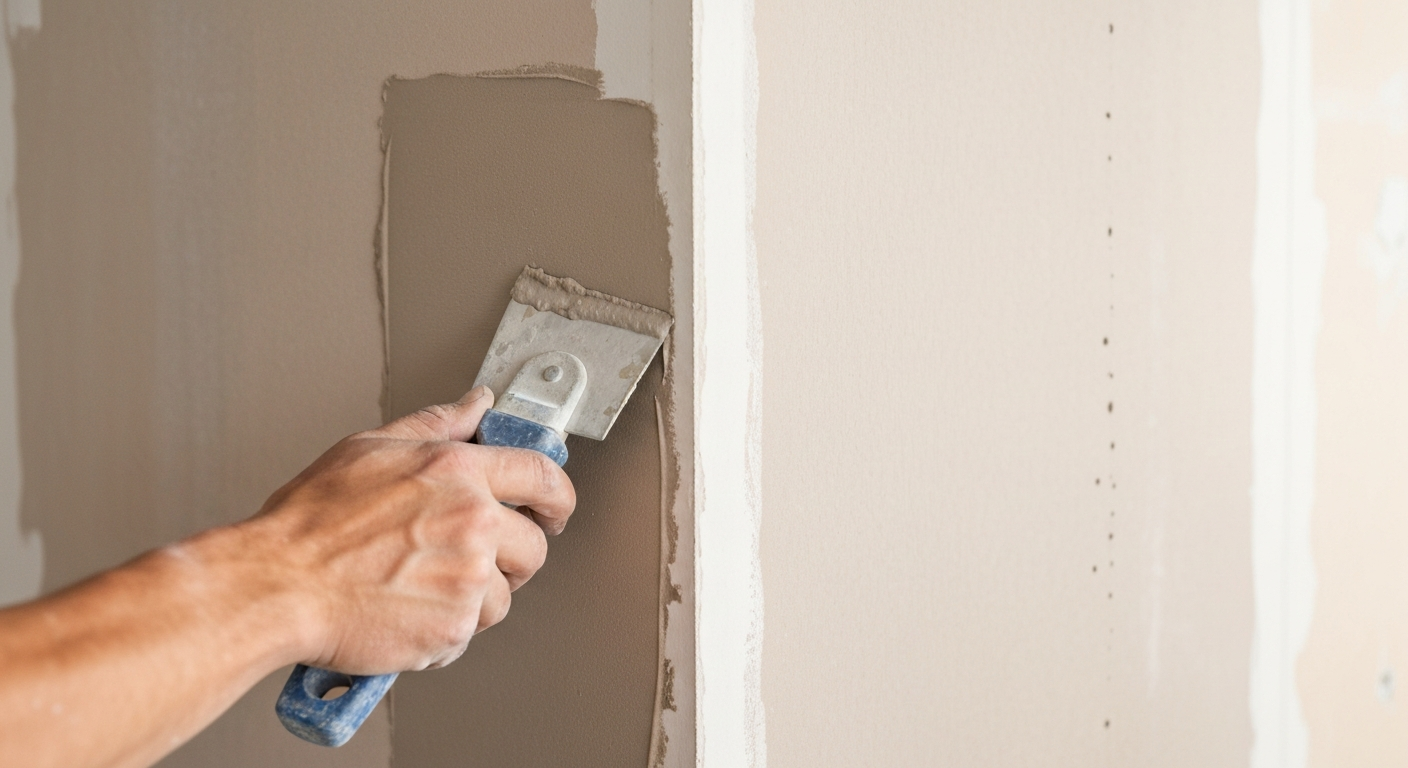
First Coat of Joint Compound (Bed Coat): Load your 6-inch drywall knife with a moderate amount of all-purpose joint compound. Apply a thin, even layer of mud directly over the mesh patch, pressing firmly to embed the mesh completely into the compound. Extend the mud slightly beyond the edges of the patch, feathering the edges thin against the existing wall. The goal is to fill the mesh and create a flat surface. Allow this coat to dry completely, typically 12-24 hours depending on conditions and compound type.
-
Second Coat of Joint Compound (Fill Coat): Once the first coat is fully dry, inspect the patch. You might notice some shrinkage or slight unevenness. Apply a second, slightly wider coat of joint compound using your 6-inch or 10-inch knife. This coat should extend about 2-3 inches beyond the edges of the first coat. Focus on filling any remaining depressions and continuing to feather the edges out smoothly. Feathering is crucial: apply pressure to the outer edges of your knife to thin the mud to almost nothing at the perimeter, blending it seamlessly into the existing wall. Allow this coat to dry completely.
-
Third Coat of Joint Compound (Finish Coat): The final coat should be very thin and wide, extending another 2-3 inches beyond the second coat. Use your 10-inch knife (if available) for maximum feathering. This coat is about achieving a perfectly smooth, level surface. Apply minimal mud and use light pressure, aiming to make the patch disappear into the wall. Ensure the edges are feathered out as far as possible, blending seamlessly. Allow this coat to dry completely.
-
Sanding: Once all coats are thoroughly dry, lightly sand the patched area. Start with 150-grit sandpaper to knock down any significant bumps or ridges, then switch to 220-grit for a super smooth finish. Use a sanding sponge or block for even pressure. Always sand with a light touch, using circular motions. The goal is a surface that is perfectly flush and smooth to the touch, with no discernible edges. Wear a dust mask and ventilate the area, as drywall dust is fine and pervasive.
-
Clean, Prime, and Paint: Wipe away all sanding dust with a damp cloth and allow to dry. Apply a coat of drywall primer over the entire patched area. This seals the joint compound and ensures a uniform paint finish, preventing “flashing.” Once the primer is dry, apply two coats of your matching wall paint, feathering the paint application slightly beyond the patch to ensure a seamless blend.
Option B: California Patch (Hot Patch)
The California patch method uses a piece of drywall with its paper backing intact to create a built-in “flange” for adhesion, eliminating the need for separate tape in the initial stages. It creates a very strong repair.
Tools & Materials:
- Drywall scrap (same thickness as your wall, larger than the hole)
- Utility knife
- Pencil
- Measuring tape
- All-purpose joint compound
- 6-inch and 10-inch drywall knives
- 150-grit and 220-grit sandpaper or sanding sponges
- Damp cloth
- Drywall primer
- Matching wall paint
Step-by-Step Guide:
-
Preparation: Clean the area around the hole, removing any loose debris or frayed paper. The existing hole doesn’t need to be perfectly square, but try to remove any major protrusions.
-
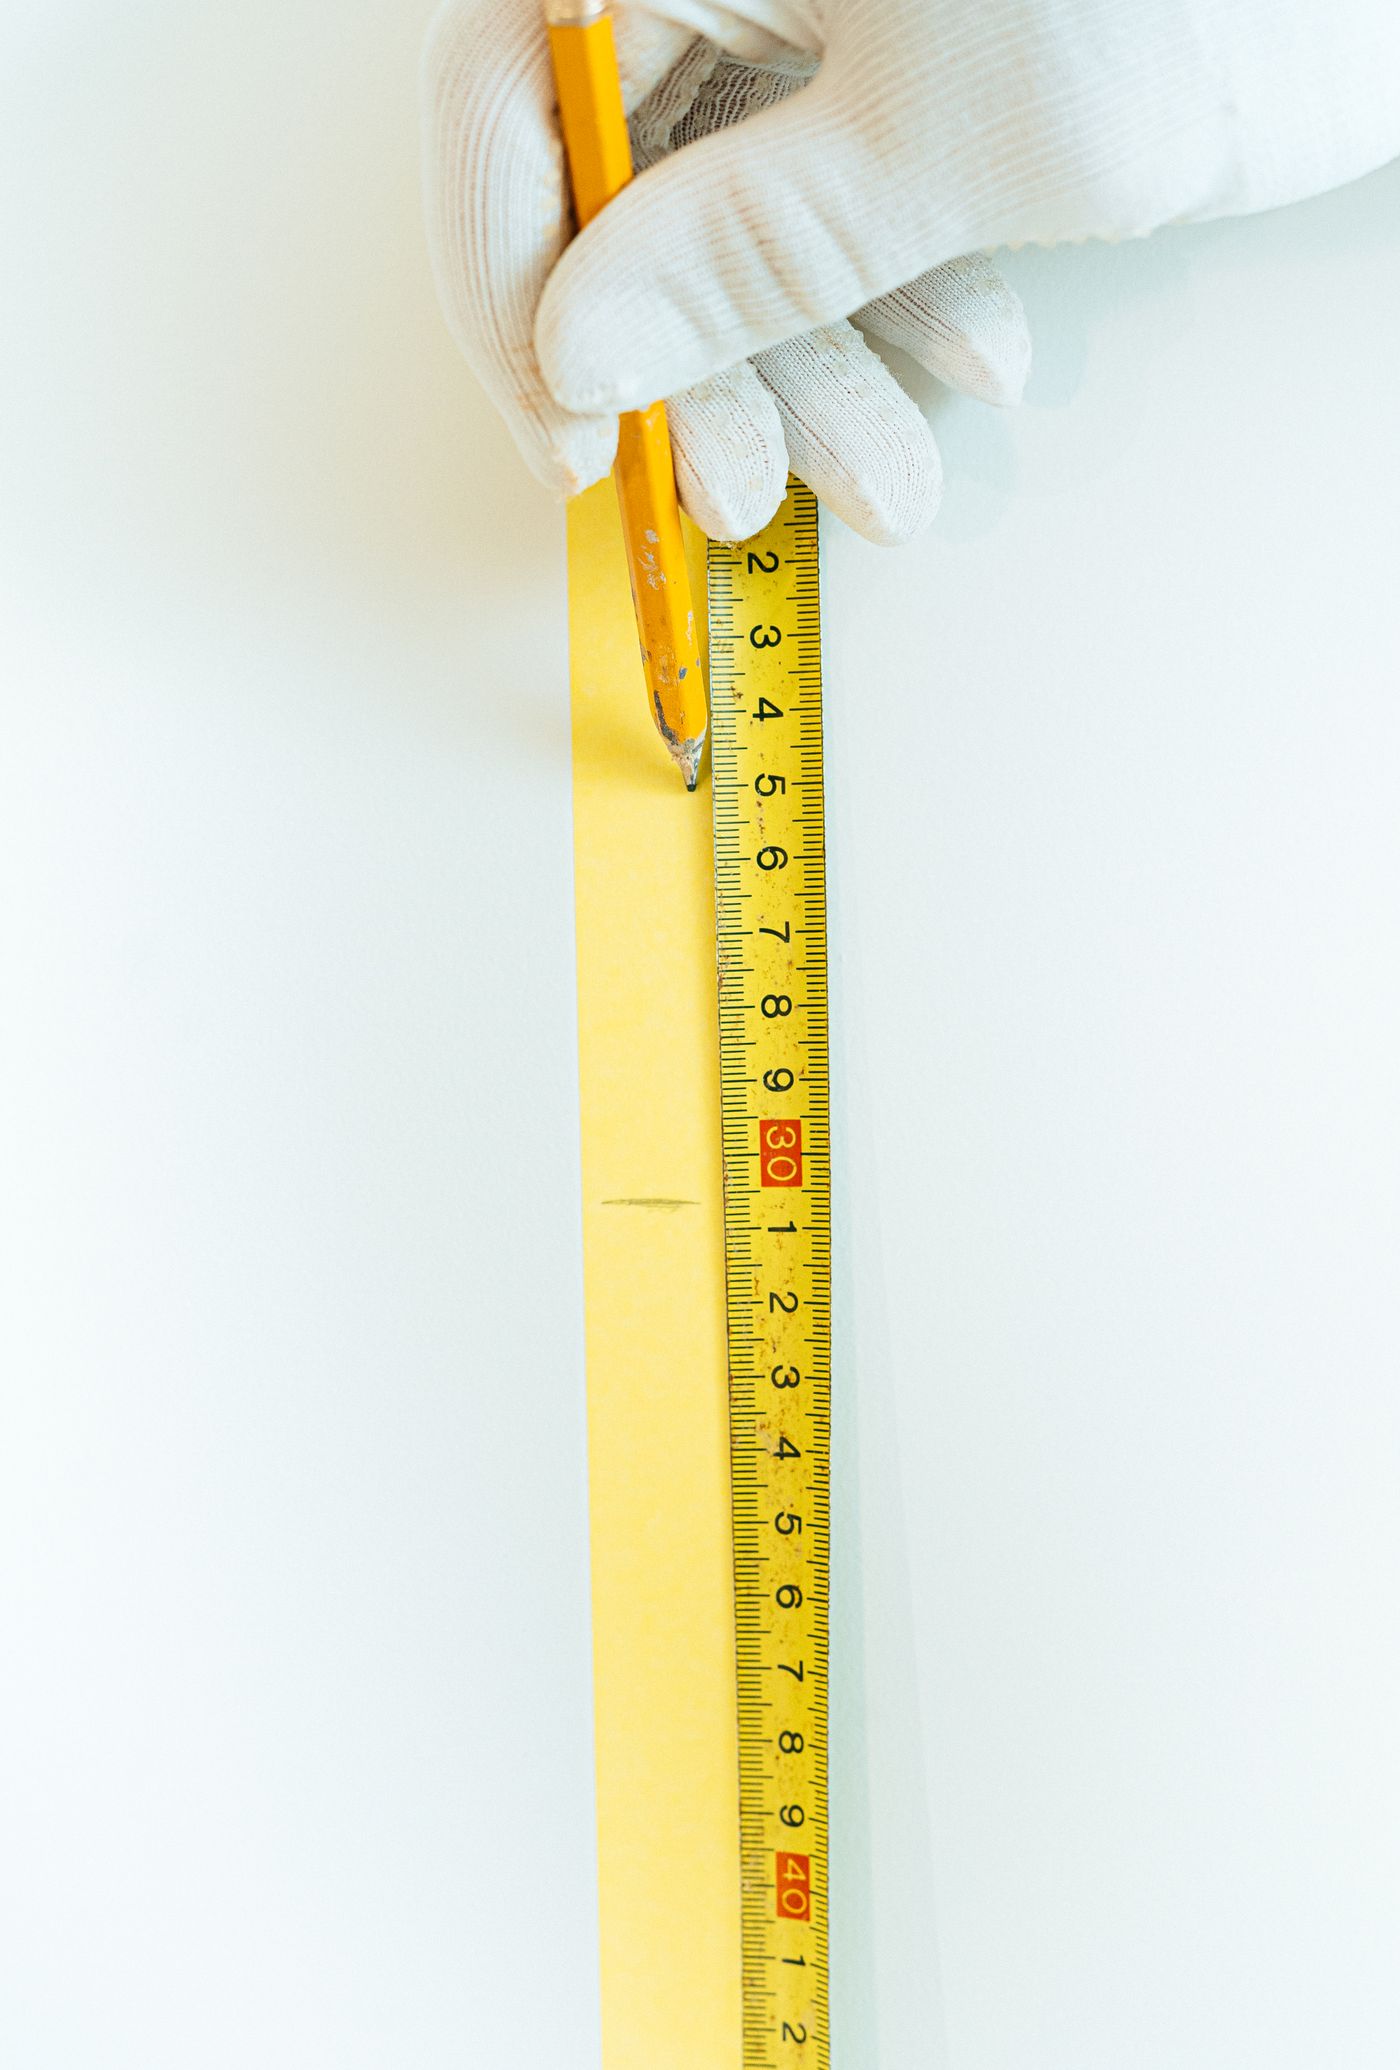
Create the Patch: Take your drywall scrap. Place it over the hole and, using a pencil, trace an outline that is at least 2 inches larger than the hole on all sides. For example, if your hole is 3x3 inches, your patch outline should be at least 7x7 inches. Cut out this square or rectangular patch from the drywall scrap using your utility knife and a straightedge.
-
Trim the Patch (Create the Flange): This is the key step of the California patch. On the back side of your newly cut patch, measure 2 inches in from each edge. Score deeply along these lines with your utility knife. Snap the gypsum board along these scores, but do not cut through the front paper. You should now have a piece of drywall with a 2-inch paper border (flange) around all four sides, with the gypsum removed from the center.
-
Trace the Patch onto the Wall: Hold your trimmed patch (gypsum side facing the wall) over the hole. Center it precisely. Using a pencil, trace the outline of the inner gypsum portion (not the paper flange) onto the existing wall. This is the exact size of the hole you will cut in your wall.
-
Cut the Hole in the Wall: Carefully cut along the traced line on your wall using a utility knife. Make sure your cuts are clean and straight. Remove the damaged drywall piece. The hole in your wall should now perfectly match the gypsum portion of your California patch.
-
Fit the Patch: Insert your California patch into the newly cut hole. The gypsum portion should fit snugly, and the paper flange should sit flat against the existing wall surface. If it’s too tight, trim the patch slightly until it fits perfectly flush.
-
First Coat of Joint Compound (Bed Coat): Apply a thin, even layer of all-purpose joint compound over the paper flange of the patch, pressing firmly to adhere it to the wall. Extend the mud slightly beyond the flange, feathering the edges thin against the existing wall. This coat essentially tapes the patch in place. Allow this coat to dry completely.
-
Second and Third Coats of Joint Compound: Follow the same procedure as described for the self-adhesive mesh patch. Apply a second, wider coat to fill any depressions and further feather the edges. Then, apply a final, very thin and wide coat to achieve a perfectly smooth, blended surface. Allow each coat to dry completely.
-
Sanding, Clean, Prime, and Paint: Once all coats are thoroughly dry, sand the patched area with 150-grit then 220-grit sandpaper until perfectly smooth and flush with the surrounding wall. Wipe away dust, prime the area, and then apply two coats of matching wall paint.
Repairing Large Holes (Doorknob to Fist Size): Backer + Drywall Plug
When a hole is too large for a mesh patch or California patch (typically larger than 6 inches, or if there’s significant damage to the drywall’s integrity), you’ll need to install a rigid backer behind the wall to support a new piece of drywall.
Tools & Materials:
- Utility knife
- Straightedge (e.g., T-square, level)
- Measuring tape
- Pencil
- Drywall scrap (same thickness as your wall)
- Wood furring strips (1x2s or similar) or metal drywall repair clips
- 1-1/4 inch drywall screws
- Cordless drill/screwdriver
- All-purpose joint compound
- Fiberglass mesh tape or paper joint tape
- 6-inch and 10-inch drywall knives
- 150-grit and 220-grit sandpaper or sanding sponges
- Damp cloth
- Drywall primer
- Matching wall paint
Step-by-Step Guide:
-
Preparation: Clean the area around the hole, removing any loose debris or frayed drywall paper. Use your utility knife and a straightedge to carefully cut the damaged area into a neat square or rectangle. This makes it easier to cut and fit a new patch. Ensure the edges are clean and straight.
-
Cut and Install Backers: Measure the width and height of your newly squared hole. Cut two pieces of wood furring strip (or use metal repair clips) that are several inches longer than the hole’s dimensions. For example, if the hole is 8 inches wide, cut two 12-inch pieces of wood.
- Insert one wood strip into the hole. Position it so it spans the hole horizontally (or vertically), resting flush against the back of the existing drywall.
- Using your drill, drive 1-1/4 inch drywall screws through the existing drywall and into the wood strip. Use at least two screws on each side of the hole. Ensure the wood strip is securely fastened and provides a solid backing.
- Repeat this process for the second wood strip, creating a frame for your new drywall plug. If using metal repair clips, follow their specific installation instructions, which usually involve inserting them, twisting, and securing them with screws.
-
Measure and Cut Drywall Plug: Precisely measure the exact dimensions of your squared hole. Transfer these measurements to your drywall scrap and carefully cut out a new drywall plug using your utility knife and straightedge. The plug should fit snugly into the hole, without forcing it.
-
Install Drywall Plug: Insert the new drywall plug into the hole. It should sit flush with the existing wall surface. Drive 1-1/4 inch drywall screws through the new plug and into the installed wood backer strips. Space the screws every 4-6 inches along the perimeter of the plug, ensuring it is securely fastened and flush. Avoid over-tightening the screws, which can break the paper face of the drywall.
-
Tape the Joints: Apply fiberglass mesh tape or paper joint tape over all four seams where the new plug meets the existing wall. If using mesh tape, ensure it’s centered over the seam and pressed firmly. If using paper tape, you’ll embed it in a thin layer of mud (see next step).
-
First Coat of Joint Compound (Bed Coat):
- For Mesh Tape: Load your 6-inch drywall knife with all-purpose joint compound. Apply a thin, even layer directly over the mesh tape, pressing firmly to embed the tape completely into the mud. Extend the mud slightly beyond the tape, feathering the edges thin against the existing wall.
- For Paper Tape: Apply a thin, even layer of mud over the seam first. Press the paper tape into this wet mud, running your knife over it to squeeze out excess mud and embed it smoothly. Then, apply another thin layer of mud over the tape, feathering the edges.
- The goal of this first coat is to firmly adhere the tape and fill the initial gap. Allow this coat to dry completely (12-24 hours).
-
Second Coat of Joint Compound (Fill Coat): Once the first coat is fully dry, apply a second, slightly wider coat of joint compound using your 10-inch knife. This coat should extend about 2-3 inches beyond the edges of the first coat. Focus on filling any remaining depressions and continuing to feather the edges out smoothly. Feathering is critical to blend the patch seamlessly. Allow this coat to dry completely.
-
Third Coat of Joint Compound (Finish Coat): The final coat should be very thin and wide, extending another 2-3 inches beyond the second coat. Use your 10-inch knife for maximum feathering. This coat is about achieving a perfectly smooth, level surface. Apply minimal mud and use light pressure, aiming to make the patch disappear into the wall. Ensure the edges are feathered out as far as possible. Allow this coat to dry completely.
-
Sanding, Clean, Prime, and Paint: Once all coats are thoroughly dry, lightly sand the patched area. Start with 150-grit sandpaper to remove any major imperfections, then switch to 220-grit for a super smooth finish. Use a sanding sponge or block for even pressure. Wear a dust mask and ventilate the area. Wipe away all sanding dust with a damp cloth, then allow to dry. Apply a coat of drywall primer over the entire patched area. Once dry, apply two coats of your matching wall paint, feathering the paint application slightly beyond the patch for a seamless blend.
Repairing Very Large Holes (Cut to Stud, New Piece)
For extensive damage – perhaps a large section of drywall is broken, or a portion needs to be replaced due to water damage or major impact – the most robust and professional repair involves cutting the damaged area back to the nearest studs and installing a new piece of drywall.
Tools & Materials:
- Stud finder
- Utility knife
- Straightedge (e.g., T-square, long level)
- Measuring tape
- Pencil
- New drywall sheet (matching thickness of existing wall)
- Drywall screws (1-1/4 inch)
- Cordless drill/screwdriver
- All-purpose joint compound
- Paper joint tape or fiberglass mesh tape
- 6-inch and 10-inch drywall knives
- 150-grit and 220-grit sandpaper or sanding sponges
- Damp cloth
- Drywall primer
- Matching wall paint
Step-by-Step Guide:
-
Preparation: Clear the area around the damaged wall. Use a stud finder to locate the studs on either side of the damaged section. Mark the center of these studs with a pencil. You’ll be cutting the damaged drywall back to the center of these studs to provide solid backing for your new drywall piece.
-
Cut Out Damaged Area: Using your straightedge and utility knife, carefully cut out the damaged section of drywall. Make sure your cuts are straight and extend vertically or horizontally to the center of the studs you marked. Take your time to make clean, precise cuts. Remove the damaged drywall. You should now have a rectangular or square opening with exposed studs on at least two sides.
-
Measure and Cut New Drywall: Measure the exact dimensions of your newly created opening. Transfer these measurements to your new drywall sheet and carefully cut a new piece to fit snugly into the opening. Ensure the new drywall is the same thickness as the existing wall. A snug fit is crucial for a strong, seamless repair.
-
Install New Drywall: Position the new drywall piece into the opening. It should sit flush with the existing wall surface. Drive 1-1/4 inch drywall screws through the new drywall and into the exposed studs. Space the screws every 6-8 inches along the studs. Ensure the panel is securely fastened and perfectly flush. Drive screws into the existing drywall edges where they meet the studs as well, if necessary, to ensure everything is tight. Remember, for hanging heavier items on drywall, even without studs, proper reinforcement is key; see our guide on /how-to-hang-heavy-mirror-drywall-without-studs/ for more tips.
-
Tape the Joints: Apply paper joint tape or fiberglass mesh tape over all seams where the new drywall meets the existing wall. For large repairs, many professionals prefer paper tape for its strength and ability to resist cracking, though it requires embedding in mud.
- For Mesh Tape: Center the tape over the seam and press firmly.
- For Paper Tape: Apply a thin, even layer of mud over the seam first. Press the paper tape into this wet mud, running your knife over it to squeeze out excess mud and embed it smoothly.
-
First Coat of Joint Compound (Bed Coat): Load your 6-inch drywall knife with all-purpose joint compound. Apply a thin, even layer directly over the tape, pressing firmly to embed the tape completely into the mud. Extend the mud slightly beyond the tape, feathering the edges thin against the existing wall. The goal of this first coat is to firmly adhere the tape and fill the initial gap. Allow this coat to dry completely (12-24 hours).
-
Second Coat of Joint Compound (Fill Coat): Once the first coat is fully dry, apply a second, slightly wider coat of joint compound using your 10-inch knife. This coat should extend about 2-3 inches beyond the edges of the first coat. Focus on filling any remaining depressions and continuing to feather the edges out smoothly. Feathering is critical to blend the patch seamlessly. Allow this coat to dry completely.
-
Third Coat of Joint Compound (Finish Coat): The final coat should be very thin and wide, extending another 2-3 inches beyond the second coat. Use your 10-inch knife for maximum feathering. This coat is about achieving a perfectly smooth, level surface. Apply minimal mud and use light pressure, aiming to make the patch disappear into the wall. Ensure the edges are feathered out as far as possible. Allow this coat to dry completely.
-
Sanding, Clean, Prime, and Paint: Once all coats are thoroughly dry, lightly sand the patched area. Start with 150-grit sandpaper to remove any major imperfections, then switch to 220-grit for a super smooth finish. Use a sanding sponge or block for even pressure. For very large areas, a pole sander can be helpful. Always wear a dust mask and ventilate the area, as drywall dust is fine and pervasive. Wipe away all sanding dust with a damp cloth, then allow to dry. Apply a coat of drywall primer over the entire patched area. This seals the joint compound and ensures a uniform paint finish, preventing “flashing.” Once the primer is dry, apply two coats of your matching wall paint, feathering the paint application slightly beyond the patch for a seamless blend.
## Frequently Asked Questions
Q: How long does drywall mud take to dry? A: Drying times for joint compound (drywall mud) can vary significantly based on several factors, including the type of compound used (lightweight, all-purpose, setting-type), the thickness of the application, ambient temperature, and humidity levels. Generally, a typical all-purpose joint compound will take 12 to 24 hours to dry thoroughly per coat. Setting-type compounds (like “hot mud”) dry much faster, often in 20 to 90 minutes, but are harder to sand. Always refer to the manufacturer’s instructions on the product packaging for the most accurate drying times. Applying coats too quickly can lead to cracking or poor adhesion.
Q: What’s the difference between joint compound and spackle? A: While both are used to fill holes and imperfections, joint compound (often called “drywall mud”) and spackle serve different primary purposes. Spackle is designed for smaller holes, cracks, and nail holes. It typically has a thicker consistency, dries faster, and cures to a harder, less flexible finish. Joint compound, on the other hand, is formulated for larger repairs, taping seams, and skim coating. It comes in various forms (all-purpose, lightweight, setting-type) and is generally more flexible and prone to shrinkage than spackle, which is why multiple coats are often needed for larger repairs. For tiny holes, spackle is usually sufficient; for anything larger, joint compound is the preferred choice.
Q: Can I skip priming before painting a drywall patch? A: It is strongly recommended not to skip priming a drywall patch before painting. Joint compound is very porous and will absorb paint differently than the surrounding finished drywall, leading to an uneven sheen known as “flashing.” A dedicated drywall primer (or a high-quality primer-sealer) seals the porous surface of the joint compound, creating a uniform base for the paint. This ensures that your topcoats of paint will have a consistent color and sheen across the entire wall, making the patch truly disappear. Skipping primer often results in the patch remaining visible, especially in certain lighting conditions.
Q: How do I prevent dust when sanding drywall? A: Drywall sanding creates a significant amount of fine dust, which can be a nuisance and a health hazard. To minimize dust, always wear a high-quality dust mask (N95 or better) and eye protection, and ensure good ventilation in the work area. For dust reduction, consider “wet sanding” by lightly dampening a sanding sponge and gently sanding the compound; this creates a mud slurry instead of airborne dust, but requires careful technique to avoid damaging the compound. Alternatively, use a pole sander or orbital sander equipped with a dust collection system or connected to a shop vacuum with a HEPA filter. Laying down drop cloths and sealing off the room with plastic sheeting can also help contain dust.
Q: My patch looks noticeable after painting. What went wrong? A: If your drywall patch is still visible after painting, it’s a common issue that usually stems from one or a combination of factors:
- Insufficient Feathering: The edges of the joint compound weren’t spread thin enough, creating a noticeable ridge or bump.
- Inadequate Sanding: The surface wasn’t sanded perfectly smooth, leaving imperfections that become obvious once painted.
- Skipping Primer: Without primer, the patched area absorbs paint differently, resulting in “flashing” or a difference in sheen.
- Not Enough Paint Coats: Sometimes, a single coat of paint isn’t enough to fully cover the primer and blend the patch, especially with certain colors.
- Improper Paint Application: Rolling or brushing technique can affect the final texture and appearance. The key to an invisible patch is to ensure the surface is perfectly smooth, flat, and seamlessly blended before any paint is applied, followed by proper priming and at least two coats of matching paint.