Disclosure and scope: This guide includes promotional links to Figura. We reviewed its published workflow on 8 October 2026; we have not purchased a file or completed a physical print for this guide. Service features and checkout terms can change.
A model that looks convincing in a browser still needs a print review. For a Figura DIY project, separate three questions: does the preview resemble the drawing, does the 3D model represent the shape you want, and does the sliced job make sense on your actual printer?
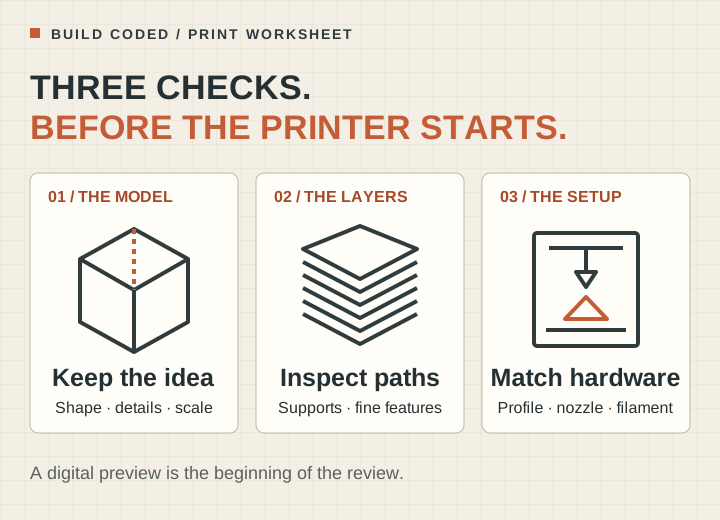
This is an inspection worksheet for a decorative figurine, not a set of universal print settings. We have not downloaded a paid Figura file or completed a Figura print. The hero is an original Build Coded checklist diagram, not a screenshot or a physical printing result.
Know what you are buying
Figura’s DIY page describes a colored GLB plus a reviewed 3MF, with five- or eight-color preparation for Bambu Studio. It says geometry issues are checked before checkout. That service-side check does not select your printer’s settings or establish that a particular material and machine will produce a satisfactory figure.
Before paying, confirm the supported workflow and inspect the previews that the service provides. The local slicer checks below happen after you have the file. If you cannot evaluate a print job in a slicer yet, consider the shipped-figure route or learn on an existing practice model first.
Pass 1: Compare the shape with the drawing
Rotate the model and inspect the back as carefully as the front. Look for missing parts, joined shapes that should be separate, or a floating detail that does not connect to the body.
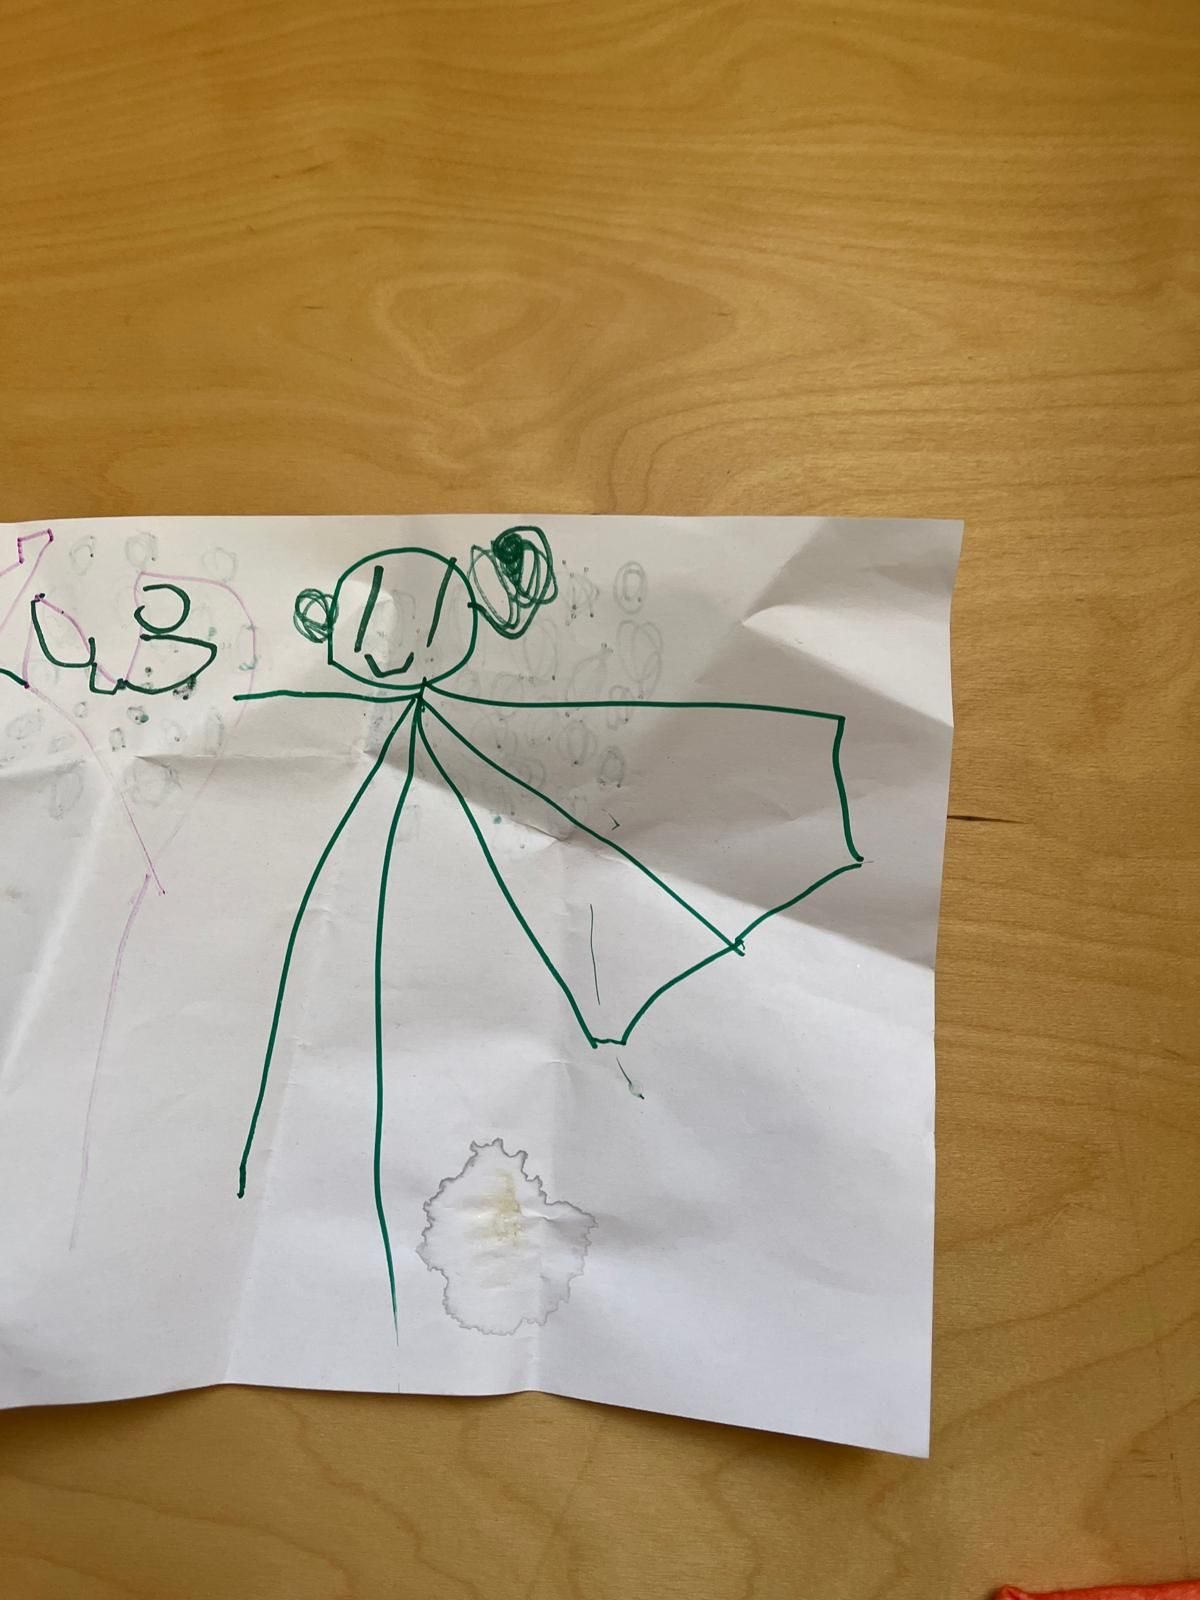
Use a short acceptance note from the drawing preparation guide. For a robot drawing, a star, hands and chest details could be useful inspection targets. This is our suggested review method, not a claim that those parts have passed a real print test.
If the model has changed the character in an unacceptable way, stop here. Slicer settings are not a reliable remedy for the wrong design.
Pass 2: Check the actual size and small features
In the slicer, read the model’s dimensions rather than estimating size from its position on screen. Confirm that it fits the usable build area for the selected printer and that the chosen size matches the project.
Prusa’s modeling guidance explains that nozzle and extrusion width constrain thin walls and small features. It also explains why overhangs and orientation affect support requirements and surface finish. There is no single minimum feature size to copy from this guide for every printer configuration.
Inspect narrow wrists, fingers, ears or badges at the intended size. In the sliced preview, check whether those features have printable paths. If a valued detail disappears, revise the model, size or suitable print configuration and slice again. Do not assume a larger preview image means a more detailed physical result.
Pass 3: Verify the printer and color setup
Treat an imported project as something to inspect. Confirm the machine profile, nozzle and material choices against the equipment and filament actually installed. Do not send a job based only on the file opening successfully.
The five- or eight-color preparation described by Figura is not a promise that your hardware has that many available colors. Check the mapping and the required workflow. If your setup cannot reproduce it, resolve that before starting; do not assume color information automatically becomes the intended tool changes.
Keep the source file unchanged and save your configured copy separately. That gives you a clear way back if you later change scale, colors or orientation.
Pass 4: Review the sliced job, not only the solid model
Use this checklist while looking at the sliced layers:
| Check | Reason to pause |
|---|---|
| First layers and contact with the bed | The figure does not sit as intended |
| Small features | Important details disappear from the paths |
| Overhanging parts | Support needs are unresolved |
| Support contact and removal | A fragile detail may be difficult to free cleanly |
| Color assignment | The mapped materials differ from your intended result |
| Estimated material and time | The job exceeds your available filament or project budget |
Choose orientation and supports with the visible surfaces in mind. Avoid assuming a generic “best” setting will suit an unusual drawing. Use your printer and slicer documentation for the specific procedure, and inspect again whenever a setting changes the generated paths.
Allow for a trial and revision. A service’s geometry check and a slicer estimate are not physical test results. This workflow is for a decorative object; it does not establish suitability for a load-bearing part or a safety-certified toy.
Save the files and the decisions
Figura currently instructs DIY buyers to keep the creation page open for payment confirmation and downloads, with access tied to the same browser. Follow the current on-screen instructions and save the provided files once available.
Keep a short project record: original drawing, approved preview, source files, configured slicer project, intended size and the settings used. If you print again later, compare against that record rather than relying on memory.
Still choosing a service? Read Figura’s current file and preparation requirements before paying. If you mainly want the finished keepsake, our DIY versus shipped guide explains the difference in responsibilities.