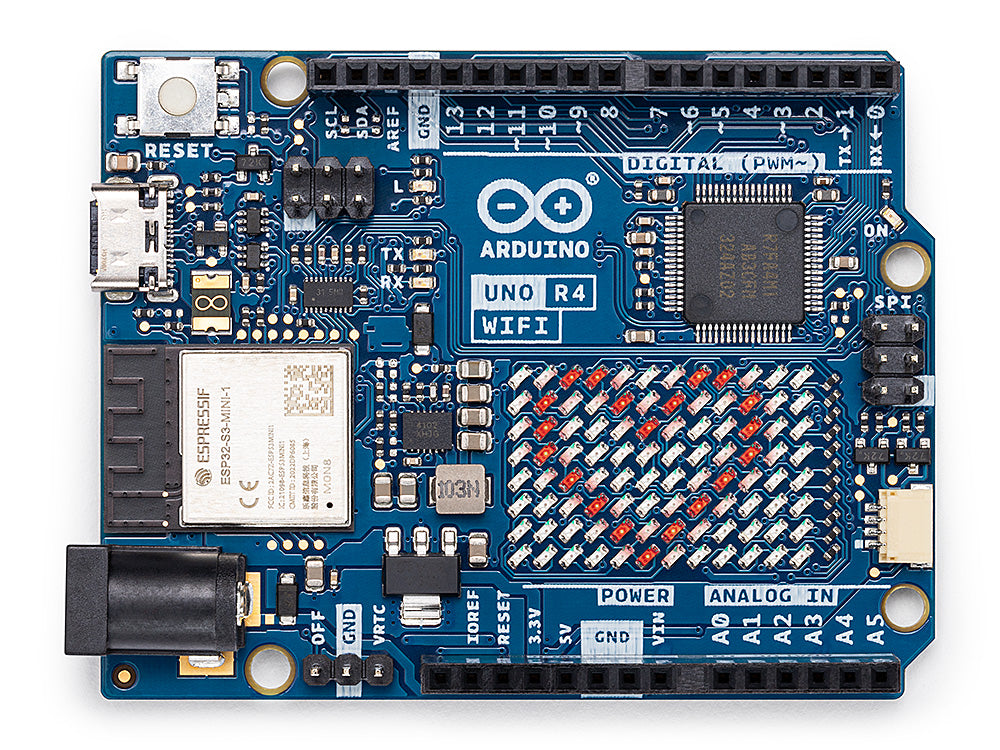
Choose an exact development board, not just a chip family name. An ESP32-S3 DevKitC-1 and an Arduino UNO R4 WiFi can both support connected projects, but their hardware and software assumptions differ. The photograph shows the UNO R4 WiFi, not an ESP32-S3 DevKitC-1.
This is a documentation-based comparison. We have not benchmarked these boards or measured battery life.
The distinction that prevents a bad purchase
The UNO R4 WiFi documentation identifies a Renesas RA4M1 main microcontroller plus an ESP32-S3 for connectivity. An ESP32-S3 development board exposes the ESP32-S3 as the main processor you program. Calling both simply “ESP32 boards” hides that difference.
| Buying check | ESP32-S3 development board | UNO R4 WiFi |
|---|---|---|
| Exact version | Confirm module, flash, PSRAM and board revision | Confirm R4 WiFi, not R4 Minima or R3 |
| Logic connections | Use the board’s 3.3 V GPIO specifications | UNO headers use 5 V logic; check each connected device |
| Main processor | ESP32-S3 | Renesas RA4M1; separate ESP32-S3 connectivity processor |
| Software | Match Arduino core or ESP-IDF support to the exact board | Use the UNO R4 board package and compatible libraries |
| Physical fit | Pin layout and connector placement vary | UNO form factor does not guarantee every older shield works |
Consult the Espressif ESP32-S3 DevKitC-1 guide for its module options and pin assignments, and the UNO R4 WiFi manual for Arduino-specific features. Do not connect a 5 V output directly to a GPIO that is not rated for it.
Which project fits each?
An existing ESP32 project: shortlist the exact board supported by the code and libraries. Check the specified pins and memory before substituting a cheaper listing.
An Arduino lesson built around the UNO R4: choose the board used in that lesson if you want to minimize adaptation. An R3 tutorial can still need changes because the processor and some library assumptions differ.
A battery-powered sensor: do not decide from a chip’s deep-sleep number. Regulators, indicator LEDs, wireless activity and connected sensors all affect a complete board’s consumption. Neither this article nor a clock-speed comparison establishes battery life.
An existing shield collection: verify electrical and library compatibility individually. A connector fitting physically is not sufficient evidence.
Before ordering
Record the exact board model, required data cable, whether headers are fitted, compatible power source and necessary level shifting. Check the seller’s complete price and contents. A bare board, a board with headers and a starter kit are different purchases.
Begin with a documented example for your chosen board and confirm each connection before applying power. Our Arduino project ideas offer starting points; they are not a promise that one wiring diagram works unchanged on every Arduino-compatible board.