Why Resin Jewelry Is the Perfect Beginner Craft
Resin jewelry has a barrier to entry that is almost comically low. A starter kit, a couple of silicone molds, and an afternoon is all you need to produce pieces that look like they came from a boutique Etsy shop. I have watched complete beginners turn out wearable pendants in their first session. The skill ceiling, however, is very high — people spend years perfecting bubble-free pours, preserved flowers, and glass-clear finishes.
This guide gets you from nothing to wearing your first pendant in a single weekend. I will walk through the two resin types you will encounter, what to embed inside the pieces, how to actually mix and pour without disasters, and the finishing steps most beginner tutorials skip. If you have read my epoxy resin beginner’s guide, some of this will feel familiar — jewelry is a more forgiving application of the same chemistry, at a much smaller scale.
UV Resin vs Two-Part Epoxy: Which Should You Start With?
There are two resin chemistries used for jewelry, and picking the right one for your project is the single most important decision you will make.
UV Resin
UV resin is a single-part liquid that cures in 2-5 minutes under a UV lamp. You pour, you cure, you move on. No mixing, no measuring, no hours of waiting. For small pendants, earring components, and quick pieces, it is magical.
Pros:
- Cures in minutes with a cheap UV lamp
- No mixing — use straight from the bottle
- Hard, clear finish out of the lamp
- Minimal waste since you only use what you need
Cons:
- Only cures thin layers (3-5mm max per pass)
- More expensive per gram than two-part epoxy
- Shorter shelf life once opened
- Sunlight can cause yellowing over months
- Sticky top layer is common and must be dealt with
Best for: Small pendants, earring components, simple molds under 5mm thick, layered builds, and beginners who want instant results.
A good starter bottle is Limino UV Resin Crystal Clear or Counter Culture DIY UV Resin. Pair it with a basic 36W UV Curing Lamp — no need to spend more.
Two-Part Epoxy Resin
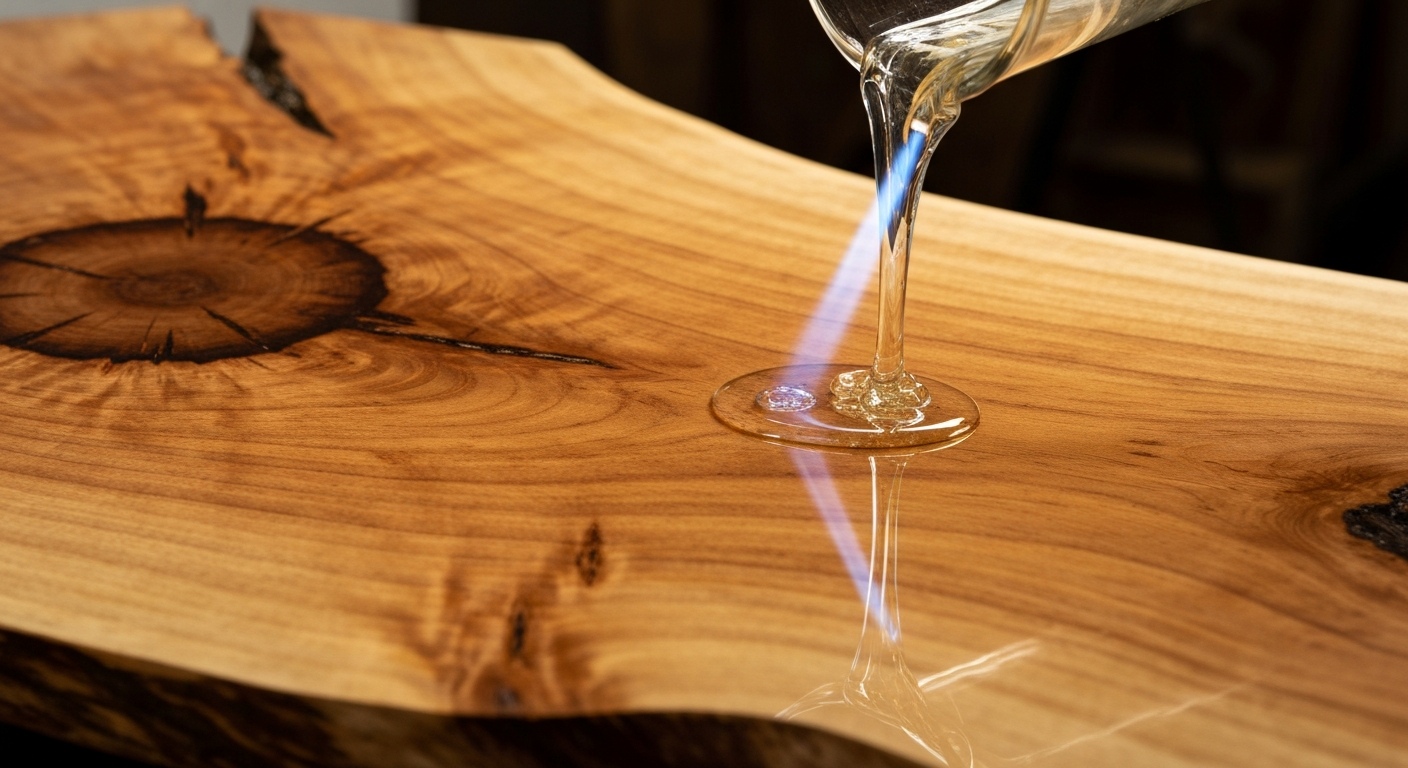
Two-part epoxy is what most people picture when they hear “resin.” You mix resin and hardener in equal parts (usually 1:1 by volume), pour it into a mold, and wait 24-72 hours for it to cure into a glass-hard finish. It is cheaper per ounce, pours thicker layers, and gives a cleaner result for larger pieces.
Pros:
- Much cheaper per gram for larger projects
- Pours thick layers (up to 1/2 inch per pour depending on formula)
- Cures rock-hard with no sticky top
- Better clarity and depth for showcase pieces
- Long working time lets you fix mistakes and place inclusions carefully
Cons:
- Requires careful mixing by ratio
- Long cure time — 24-72 hours depending on the product
- Stronger fumes — proper ventilation required
- Mixing bubbles need to be eliminated
- Wasteful if you only want one small piece
Best for: Larger pendants, thicker molds, pieces with deeply embedded inclusions, anything you want absolutely crystal clear.
For jewelry specifically, ArtResin Epoxy Resin Kit and Dr Crafty Crystal Clear Epoxy are both safe, low-odor choices. Avoid generic hardware store epoxies — they yellow badly over time.
My Recommendation for True Beginners
Start with UV resin. The fast feedback loop will teach you what works without burning a weekend on a failed pour. Once you are comfortable, graduate to two-part epoxy for larger and more ambitious pieces.
What You Will Need
Materials
- Resin — UV or two-part, as discussed above
- Silicone molds — Silicone Jewelry Resin Mold Kit — get an assortment pack to experiment
- Pigments — Mica powders, alcohol inks, or dedicated resin dyes. Pearl Ex Mica Powder Set is the standard starting point
- Inclusions — Dried flowers, glitter, foil flakes, small photos printed on inkjet film, tiny beads
- Jump rings and eye pins — For finishing pieces into wearable jewelry
- Jewelry chain or cord — For pendants
Tools
- Nitrile gloves — Not latex, not vinyl. Resin will eat through them
- Silicone mixing cups — Reusable, peel clean once cured
- Wooden stir sticks — Cheap, disposable, and do not introduce air the way plastic does
- Digital scale — For mixing two-part by weight, much more accurate than volume
- UV lamp — Only if using UV resin
- Heat gun or long-stem lighter — For popping surface bubbles
- Toothpicks — For positioning tiny inclusions
- Paper towels and isopropyl alcohol — For cleanup before cure
- Mini hand drill or pin vise — For drilling jump ring holes in cured pieces
- Sandpaper in 400, 800, 1500, 3000 grit — Wet/dry type for finishing edges
Safety First: Read This Before You Open a Bottle
Resin is not dangerous if you handle it properly, but shortcuts here are what separate “fun hobby” from “nasty chemical sensitivity.” The fumes from uncured resin are irritating at best and sensitizing at worst — once you develop a sensitivity, it can persist for years.
- Ventilation: Work in a room with open windows and a fan pulling fresh air in, not at a closed kitchen table. A small exhaust fan in a window is the minimum.
- Nitrile gloves, always: Uncured resin absorbs through skin. Latex and vinyl do not protect you.
- Respirator for two-part epoxy: A half-mask with organic vapor cartridges is worth the $30-40 if you make resin regularly.
- No food or drinks in the workspace: Resin contamination in a cup of coffee is a real hazard.
- Keep pets and kids out: Uncured resin drips are tempting to curious hands and paws.
- Dispose of waste properly: Cured scraps are inert and can go in regular trash. Uncured liquid is hazardous waste — let it cure completely before disposal.
Step 1: Choose and Prep Your Mold
Silicone molds come ready to use — you do not need to grease or release them. Wipe the mold with a lint-free cloth or a shot of compressed air to remove any dust or lint that would otherwise show up in the finished piece.
Place the mold on a flat, level surface. This matters more than you would think. A mold sitting on an angle will give you a tilted piece with one thin edge and one thick edge. Use a small bubble level if your table is suspect.
Step 2: Plan Your Inclusions
Inclusions are the stuff you embed inside the resin — dried flowers, glitter, foil, tiny beads, small objects. Lay them out next to your mold before you mix any resin. Decide exactly where each one will go. Once you pour, you have a short window to place things before the resin starts to set.
Common beginner inclusion mistakes:
- Fresh flowers — They rot inside the resin over a few weeks. Only use fully dried and pressed flowers.
- Porous materials — Wood, fabric, and paper need to be sealed with a clear drying glue or spray sealer first, or they will turn dark and translucent in contact with resin.
- Overfilling — Less is more. A single dried pansy in a clear pendant looks elegant. Five different things crammed together looks like a craft store exploded.
- Forgetting orientation — In a mold, the bottom of your pour is the front of the finished piece. Flowers should be placed face-down.
Step 3: Mix the Resin
UV Resin Mixing
UV resin comes ready to use. Shake or stir the bottle gently if it has been sitting. Squeeze a small amount directly into your mold — just enough to fill a thin layer at the bottom.
If you want to add pigment, squirt the resin into a small silicone cup first, add a pinch of mica powder, and stir with a toothpick. Then transfer to the mold.
Two-Part Epoxy Mixing
This is where people go wrong, so read carefully.
- Check the ratio on your bottle. Most jewelry epoxies are 1:1 by volume, but some are 2:1 or 1:1 by weight. Mixing the wrong ratio gives you a sticky, never-curing mess.
- Measure into two separate cups first. This ensures your ratio is accurate. If you try to pour directly into one cup, you will almost always overshoot.
- Combine into a third cup. Scrape out every bit.
- Stir slowly for 3-5 minutes. Slow stirring introduces fewer bubbles. Scrape the sides and bottom of the cup frequently — unmixed resin on the walls of the cup is the number one cause of soft or sticky cured pieces.
- Let it rest for 2-3 minutes. This lets bubbles rise before you pour.
Step 4: Pour and Place
For pendants and small pieces, pour a thin base layer first — about 2-3mm. Let it start to gel slightly before placing your inclusions. This prevents dried flowers from floating up to the surface. With UV resin, flash-cure the base layer for 30-60 seconds before adding the next layer.
Place your inclusions with a toothpick, pressing them gently into the semi-cured base. Add a second pour to cover them. Fill the mold to the top but not overflowing — surface tension will give you a slight dome that looks correct once cured.
Step 5: Deal With Bubbles
Bubbles are the beginner’s worst enemy. Every beginner overreacts to bubbles and ends up with more than they started with. Here is what actually works.
- Tap the mold gently on the table. Vibration brings bubbles to the surface.
- Use a long-stem lighter or small butane torch. One quick pass across the surface — half a second — pops surface bubbles. Do not linger or you will scorch the resin.
- A heat gun works too, on the lowest setting held at least 6 inches away. My best heat guns for crafts and DIY guide covers suitable models.
- Time is your friend. With two-part epoxy, bubbles naturally rise during the first hour of cure. Do not panic — wait.
Step 6: Cure
With UV resin, place the mold under your UV lamp for 2-5 minutes per the bottle instructions. Thicker pours need longer. Always cure slightly longer than you think you need.
With two-part epoxy, cover the mold with a box or plastic bin to keep dust off. Leave it undisturbed at room temperature (70-75 degrees Fahrenheit is ideal) for 24-72 hours. Cold rooms slow the cure. Warm rooms speed it up but can increase yellowing in cheap resins.
Do not touch the piece during cure. Fingerprints in a soft surface are permanent.
Step 7: Demold
Silicone molds release easily. Gently flex the mold and push from the back — the piece should pop out. If it sticks, your resin may not be fully cured yet. Wait another 12 hours and try again.
Inspect the piece for sticky spots (undercured resin) or soft areas (mixing ratio problems). If most of the piece is hard but one area is sticky, you can usually flash-cure a UV resin piece for an extra minute under the lamp. For epoxy, sticky areas cannot be rescued — that piece is a loss.
Step 8: Sand the Edges
Cured resin pieces almost always have a seam or sharp edge where the mold meets the top. Wet-sand the edges in stages:
- 400 grit to knock down any sharp edges and seams
- 800 grit to smooth out scratches from the 400
- 1500 grit to start polishing
- 3000 grit for a near-mirror finish
Keep the piece wet while sanding — it reduces dust and gives a smoother result. A small spray bottle of water next to your workspace is all you need.
Step 9: Drill a Hole for a Jump Ring
This is the step most beginner tutorials skip, and it is where most first pieces fail. You cannot just poke a hole through cured resin with a nail. It will crack.
Use a small hand drill or pin vise with a 1-1.5mm bit. Mark the spot with a pencil first. Drill slowly, straight down, applying only gentle pressure. Let the bit do the work. A cordless mini hand drill is worth the $15-25 if you plan to make pendants regularly.
Once drilled, thread a jump ring through the hole with small jewelry pliers, close the ring, and you have a finished pendant ready for a chain.
Step 10: Finish With Chain or Cord
A simple 18-inch silver-tone or gold-tone chain turns your pendant into wearable jewelry. Rubber or leather cord works for a more casual look. Clip-on earring components convert flat resin pieces into earrings. Keyring hardware turns larger pieces into keychains.
Most of these findings come in multi-packs for $8-15 and last dozens of projects.
Troubleshooting Your First Few Pieces
Sticky or tacky surface after cure: Usually incomplete cure. UV resin needs longer curing time or a stronger lamp. Epoxy needs to finish curing or was mixed with the wrong ratio.
Cloudy resin: Condensation from a cold workspace or expired resin. Warm your workspace to 70+ degrees Fahrenheit and check the bottle date.
Yellow cast: Old resin, cheap resin, or too much heat during cure. Use fresh, quality products and cure at room temperature.
Bubbles trapped in the middle: You poured too fast or did not torch/tap the first layer. Slow down.
Piece cracked while demolding: Piece was too thin or not fully cured. Wait longer and pour thicker.
Dried flowers turned brown: Flowers were not fully dried, or resin soaked through unsealed petals. Seal flowers with a coat of Mod Podge before embedding.
Final Thoughts
Resin jewelry is one of those crafts where your first piece will surprise you — it will look better than you expected. Your tenth piece will look worlds better than your first. By your hundredth, you will have a signature style and a drawer full of supplies you cannot imagine living without.
Start with a cheap UV resin kit, a few simple molds, and one type of inclusion. Learn the basics before branching into alcohol inks, layered pours, and preserved specimens. The skills compound quickly, and the craft is endlessly forgiving to beginners willing to try again.